
 English
 中文简体
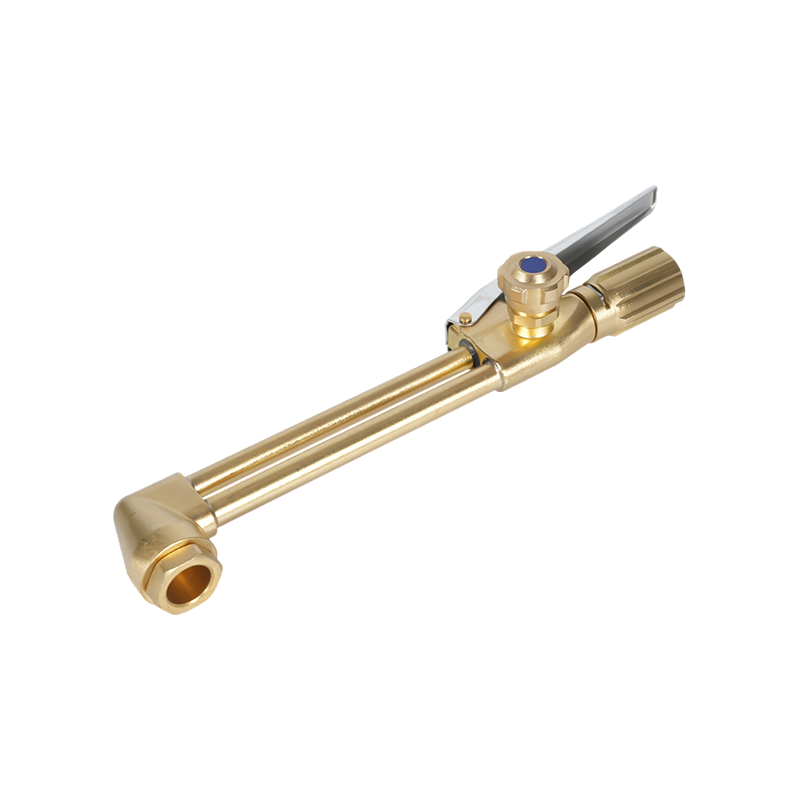
A welder picks up a torch with a size-2 tip, lights it, sets what looks like a neutral flame, and still finishes the shift with a cut edge that needs grinding and a bead that cracks along the toe. The pressures were by the book, the plate was clean, and nothing on the gauge looked wrong. What drifted was the oxy acetylene flame itself, a little too far into oxygen or a little too far into acetylene.
The short version: the flame is defined by the oxygen-to-acetylene ratio at the tip, not by the regulator figures alone. Three flames come out of that ratio, neutral, carburizing and oxidizing, and each one carries a different temperature, a different chemistry at the molten metal and a different set of jobs it does well. Learn to read the cones and most cutting and welding faults get diagnosed before the first pass.
Content
- 1 Why the ratio matters more than the gauge reading
- 2 The three oxy acetylene flames side by side
- 3 Neutral flame: the baseline to master first
- 4 Carburizing flame: extra acetylene, extra care
- 5 Oxidizing flame: short, sharp and easy to overdo
- 6 Setting, reading and shutting down the flame
- 7 Hardware that keeps the flame repeatable
- 8 Safety points that change flame behaviour
Why the ratio matters more than the gauge reading
Acetylene burned in pure oxygen reaches roughly 3,200 to 3,500 °C (5,790 to 6,330 °F), hotter than propane, propylene or natural gas in the same torch. That headline number only holds at a mixture close to 1:1. Feed more acetylene and the flame cools slightly while the inner cone grows a feather of unburned carbon. Feed more oxygen and the cone shortens, the flame grows harsher, and free oxygen begins attacking the steel.
A regulator gauge shows what is available at the inlet, not what arrives at the orifice. Hose length, tip size and a partly blocked tip all change delivery. That is why every sound procedure ends with the same instruction: adjust visually, at the torch, with the flame lit and playing on the work.
The three oxy acetylene flames side by side
| Flame | Oxygen to acetylene | What you see | Typical work | Risk when misapplied |
|---|---|---|---|---|
| Neutral | About 1:1 | Two sharply defined cones, bright white-blue inner cone, no feather | Mild steel cutting and welding, brazing with flux, general heating | Low risk; slight oxidation on aluminium |
| Carburizing | Acetylene-rich, around 0.8 to 0.9:1 | Three zones: inner cone, whitish feather, outer envelope; may soot | Aluminium, nickel alloys, cast iron repair, hardfacing, high-carbon steel | Carbon pick-up, soot in the kerf, hard crack-sensitive welds |
| Oxidizing | Oxygen-rich, about 1.2:1 or more | Short, sharp, paler inner cone, louder hiss, smaller envelope | Brass and bronze, gouging, scarfing, some fast cutting | Decarburization, burnt alloying elements, porous welds, wide rough kerf |
Treat the middle column as a starting point. Two operators can set the same nominal ratio and still see different cone lengths, because tip wear and gas purity shift the visible boundary. The cones, not the numbers, are the real instrument.
Neutral flame: the baseline to master first
Open the acetylene, light it, then add oxygen until the feather just vanishes and two clean cones remain: a bright inner cone and a paler outer envelope. No hiss, no soot, no brightening at the tip. That is neutral.
It is the flame you fall back on because it neither adds carbon nor strips it. Mild steel cutting, most fusion welding, fluxed brazing and general heating all sit comfortably in it. For cutting, neutral is the safe default. A slightly oxidizing flame cuts faster, but the kerf walls come out rougher and the edge hardens, which costs time at the machining stage.
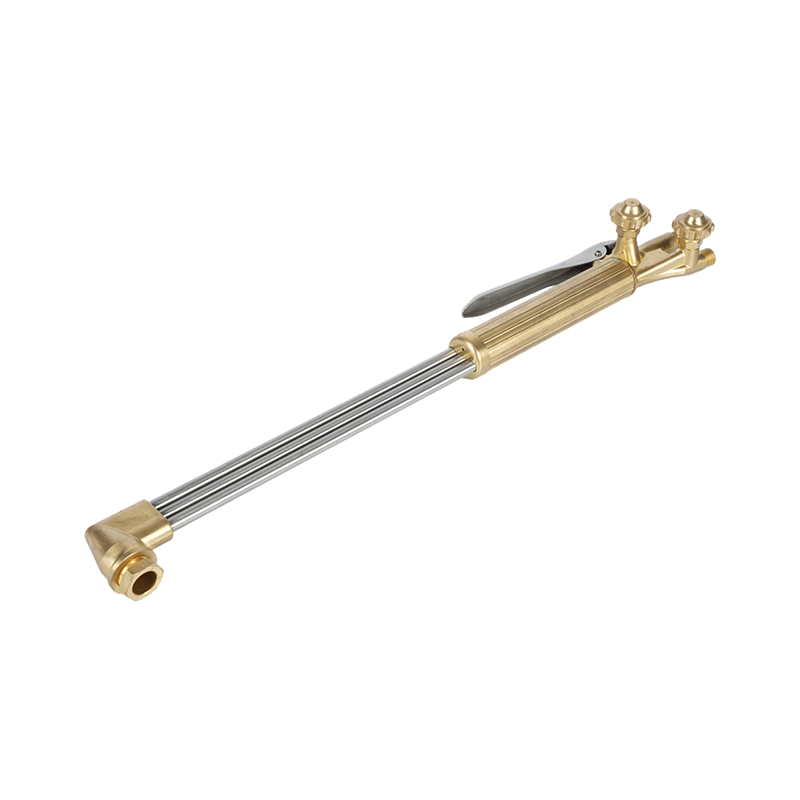
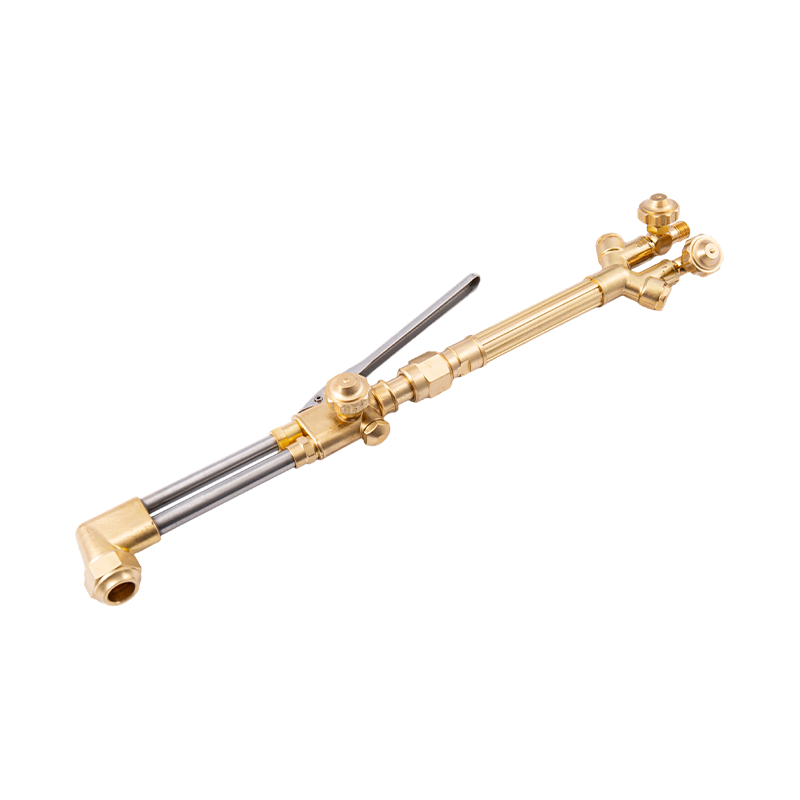
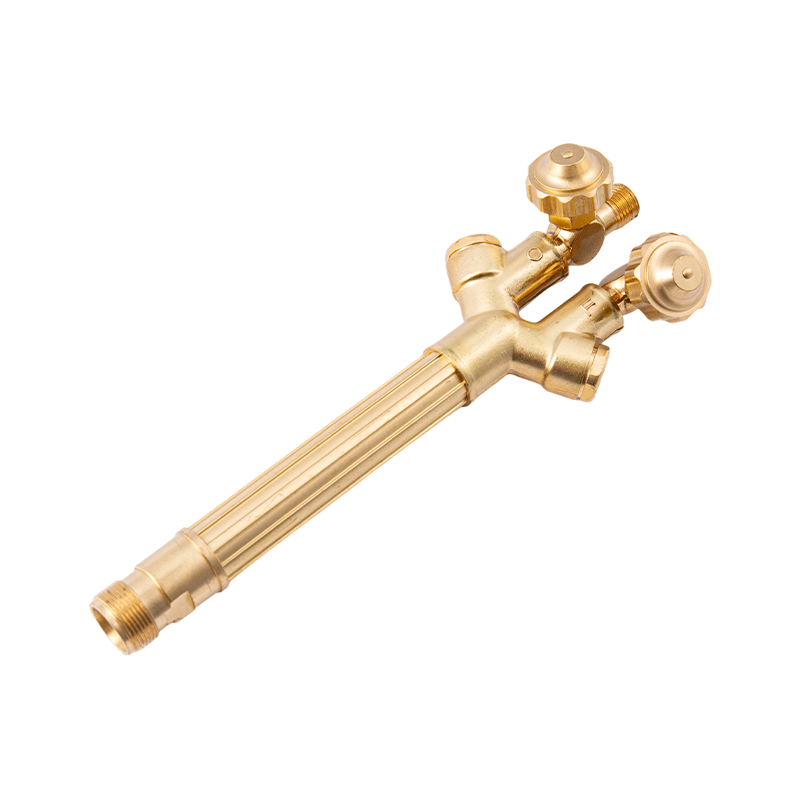
The attachment matters as much as the setting. A two-piece cutting attachment such as an A212 handles plate from a few millimetres up to heavy section on one handle, which keeps the ratio consistent between operators and shifts.
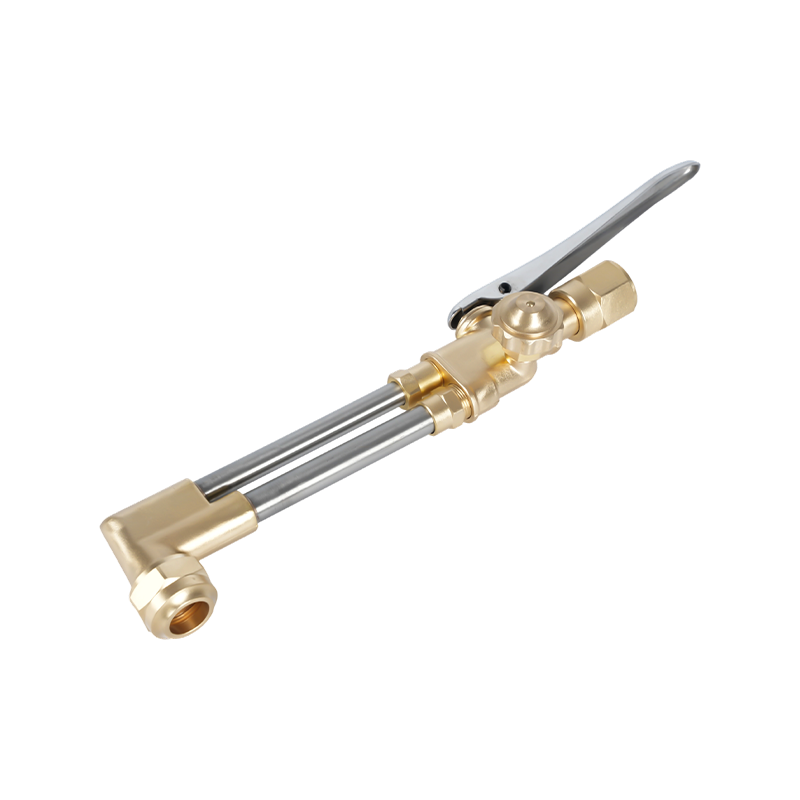 A212 Heavy Duty Cutting Attachment for Oxy Acetylene and PropaneForged brass body and stainless steel valves provide durability for heavy plate cutting up to 200 mm, with consistent performance across operators and shifts.View Product →
If the cut face shows a narrow, clean drag line and a sharp top edge, the flame was close to neutral. Ragged edges and heavy dross usually mean the flame was wrong before the travel speed was.
Carburizing flame: extra acetylene, extra care
Open the acetylene a fraction past the oxygen and a third zone appears, a whitish feather sitting between the inner cone and the outer envelope. That feather is unburned carbon, and it does two things at once: it lowers the oxygen potential at the pool and it deposits carbon on the metal.
Used deliberately, it is the right choice for aluminium, nickel and high-nickel alloys, cast iron repair and hardfacing, where a mildly reducing atmosphere protects the molten pool. On high-carbon and tool steels a short feather offsets carbon burn-off during welding.
The trap is applying it to low-carbon steel because it looks gentler. Carbon pick-up hardens the weld and makes it more crack-sensitive, and soot left in a kerf causes incomplete fusion on the next pass. Keep the feather short, no longer than about one and a half times the inner cone, and wipe the workpiece if soot appears.
Oxidizing flame: short, sharp and easy to overdo
Add too much oxygen and the inner cone shortens and sharpens, the note rises, and the outer envelope pulls in. Many operators create this flame by accident when they open the oxygen too early or set pressures above the tip chart.
On purpose, it belongs on brass and bronze, where an oxidizing atmosphere suppresses zinc fuming, and on gouging and scarfing where aggressive heat is wanted. On steel it is corrosive. Carbon burns out of the surface layer, alloying elements oxidize, and the result is a porous weld with slag trapped beneath the edges. A granular grey skin on the cut face and a kerf wider than the chart predicts are both signs the mixture has swung too far.
Setting, reading and shutting down the flame
- Inspect the tip: orifice round, seat clean, O-rings intact. Clean with a proper tip cleaner, never a drill bit.
- Set regulator pressures from the torch manufacturer's tip chart, keeping acetylene at or below 1 bar (about 15 psi).
- Purge both lines for a second or two to clear air and stale gas.
- Open the acetylene torch valve about a quarter turn and light with a striker, not a lighter.
- Add oxygen until the feather disappears, then fine-tune on a scrap piece of the same steel.
- Adjust for the job: a short feather for carburizing work, a shorter cone for oxidizing work.
- Shut down acetylene first, then oxygen, then bleed the lines and close the cylinder valves.
Two habits prevent most surprises. First, re-check the flame after every tip change or hose reconnection, because delivery changes. Second, keep a test coupon of the actual material nearby; a flame that looks perfect in open air can read very differently against a heat-sinking plate.
Hardware that keeps the flame repeatable
The flame is only as stable as the parts feeding it. A worn tip seat draws air past the thread, a swollen O-ring changes the mixture between passes, and a mismatched tip and attachment shifts the ratio for everyone who picks up the torch. On a production bench, that variance shows up as inconsistent kerf width long before anyone suspects the gas.
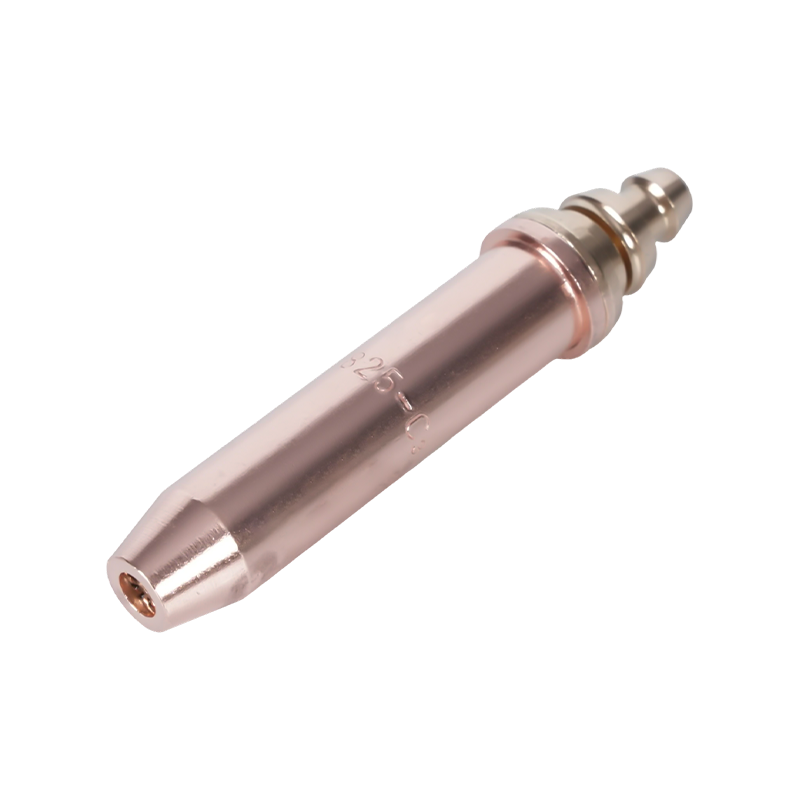
Acetylene tips are sized by orifice and by duty. A general-purpose series such as the 1101 covers the common plate thicknesses found in fabrication and repair shops, while heavy-duty series suit thicker section and longer continuous cuts.
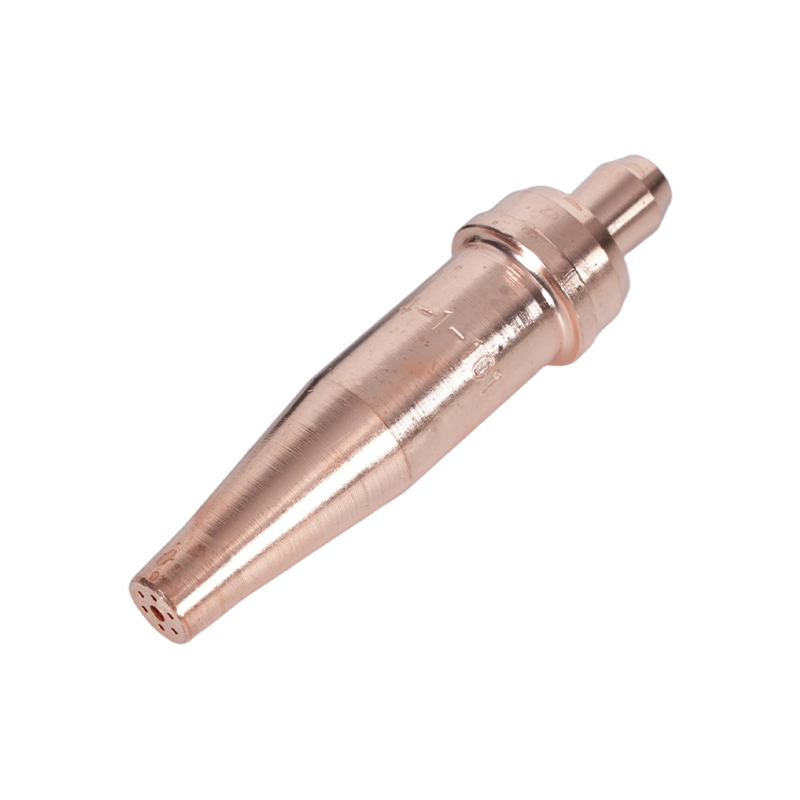 1-101 Series Acetylene Torch Tips for 5–200 mm CuttingCovers 5–200 mm plate with 76 mm length and fits A217, A218, A219, A246, A212 and A800 torches for fabrication and repair work.View Product →
Consumables deserve the same attention as the torch body. Choosing the right size, seating it square and replacing it at the first sign of spalling is covered in more depth in this guide to selecting and maintaining cutting torch tips, which is worth reading alongside the tip chart.
For buyers specifying kits across a workshop, the practical check is uniformity: same handle interface, same attachment series, same tip numbering, so a flame setting recorded on one bench can be reproduced on another.
Safety points that change flame behaviour
Flashback is the failure mode that matters most, and it is a flame problem rather than a gas problem. A flame front travelling back up the hose turns a small mistake into a cylinder event. Non-return valves slow gas reversal but do not stop a flame front; only a proper arrestor does. Fit them at the regulator outlet and, where the risk assessment calls for it, at the torch inlet as well.
 B288 Series Oxy Acetylene Flashback ArrestorPrevents flashback and reverse gas flow with models for oxygen (7000 L/h) and fuel gas (2600 L/h) in multiple thread sizes, protecting operators and equipment.View Product →
Never run acetylene above roughly 1.5 bar (about 15 psi) at the hose, since free acetylene becomes unstable at higher pressure. Keep cylinders upright and secured, keep grease and oil away from oxygen fittings, and wear the correct shade of filter lens for the work in hand. A flame that pops, whistles or changes colour on its own is a stop-work signal, not something to adjust around.
Flame setting is a skill measured in seconds, but it decides cut quality, weld soundness and consumable life across a whole workshop. If you are standardising torches, tips and arrestors for a production line, or need parts made to your own drawings and gas specifications, the team can be reached through the contact page with your details.