
 English
 中文简体
A bracket that will not come up to temperature usually has a torch setting problem before it has a filler-metal problem. The flame looks busy, the regulator gauges are high, and the filler still balls up instead of flowing into the joint. For oxy-acetylene brazing, that combination is a warning: more pressure is not the answer.
For most small and medium brazing jobs, the workable starting point is low: about 3 to 5 psig acetylene, 5 to 10 psig oxygen, a neutral flame and the smallest tip that heats the joint steadily. The exact figures depend on the torch, tip and work thickness, but the principle does not. Set the smallest stable flame that brings the part to temperature without overheating one spot. High gauge numbers do not make a better joint; they often make a dirtier one.
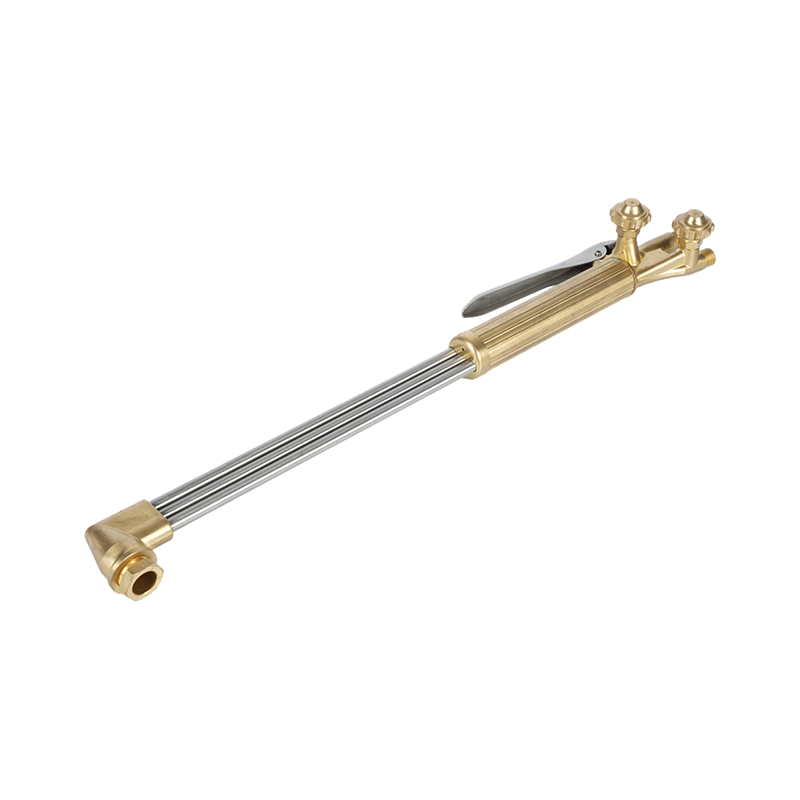
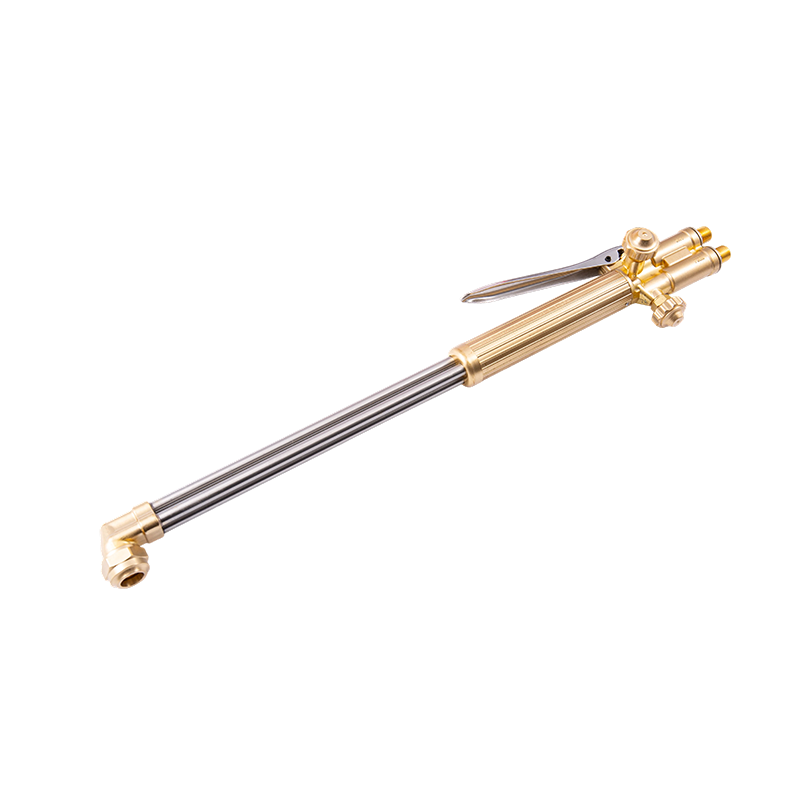
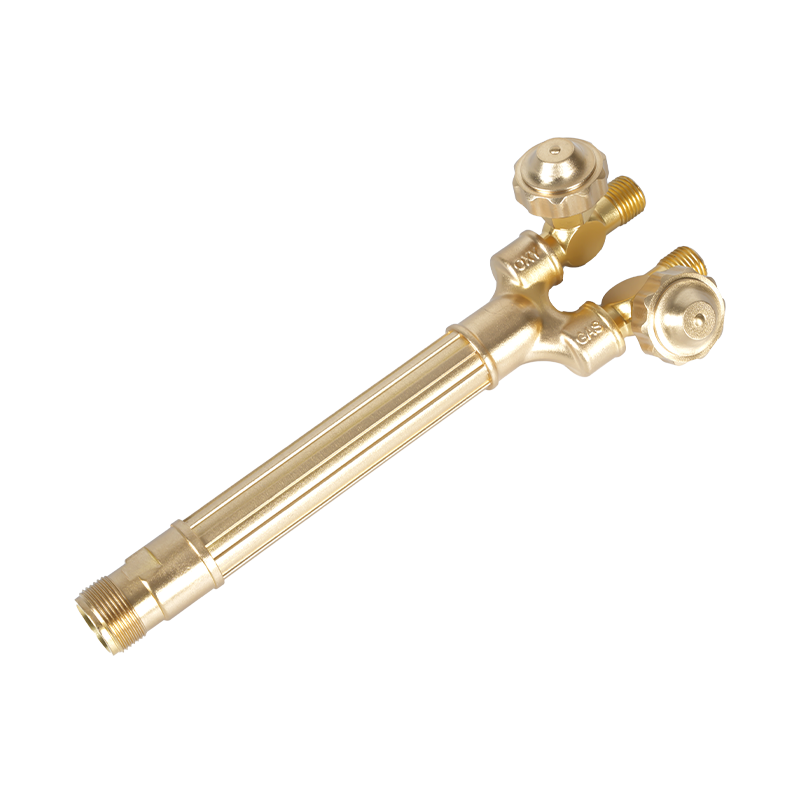
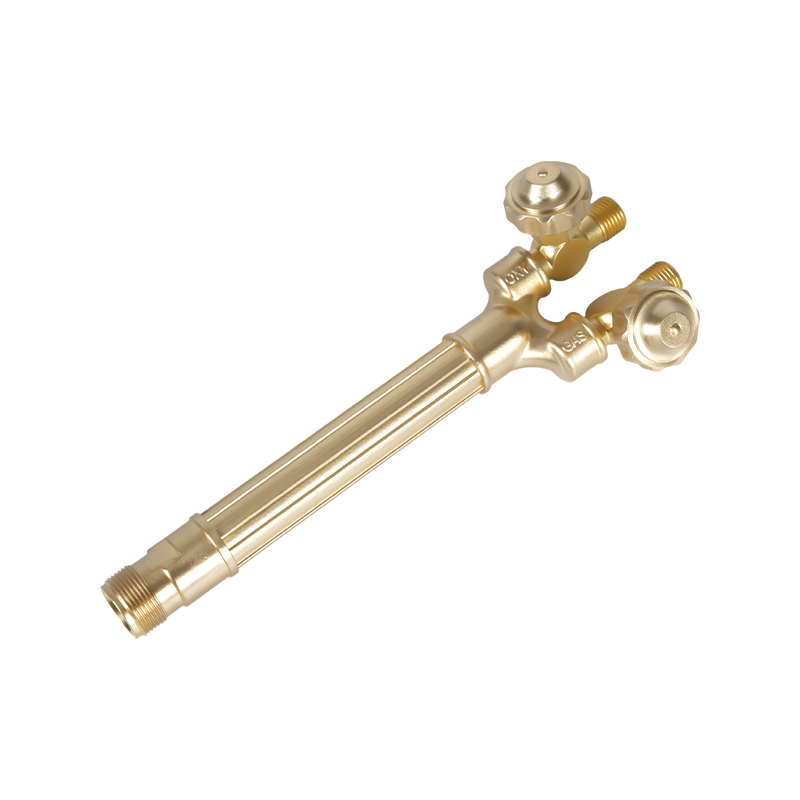 A221 Medium-Duty Cutting Torch and Brazing HandleFor small to medium brazing setups, this medium-duty brass handle offers precise stainless needle valves and simplified maintenance.View Product →
Content
Start With Regulators, Hoses and a Clean Torch
Before touching the lighter, check the station as a system. Back off both regulator adjusting screws, inspect the hose for cracks, confirm that flashback arrestors are fitted at the regulators or torch, and make sure the tip orifice and tip seat are clean. A dirty tip can imitate a bad pressure setting by producing a soft, uneven flame or a pop when the torch is lit.
Open the acetylene cylinder valve only enough to get full flow, so it can be closed quickly. Open the oxygen cylinder valve fully. Set delivery pressure at the regulators with the torch valves closed, unless the torch manufacturer specifies a flowing setting, then recheck with the flame lit. Purge each hose briefly before lighting, away from the work and any ignition source. Acetylene delivery pressure should stay well below 15 psig; for brazing, the useful range is much lower.
A Practical Starting Chart for Brazing
Use the chart as a baseline, not a substitute for the tip chart supplied with the torch. The goal is a steady, controllable heat that brings the whole joint up to flow temperature without burning the flux or melting the base metal.
| Work and typical tip size | Acetylene delivery pressure | Oxygen delivery pressure | Flame and practical note |
|---|---|---|---|
| Small tubing or thin sheet, smallest tip | 2 to 4 psig | 4 to 7 psig | Neutral flame; heat quickly and move the torch to avoid overheating one spot. |
| Medium fittings, 1/4 to 1/2 in | 3 to 5 psig | 5 to 9 psig | Neutral flame; keep the inner cone just off the work and heat around the joint evenly. |
| Larger sections, over 1/2 in | 4 to 6 psig | 7 to 12 psig | Neutral flame with a larger tip; preheat the mass before directing heat into the joint. |
If the joint is slow to reach temperature, increase tip size before raising pressure. If the flux turns black quickly, the flame is too large or too concentrated. A pressure change should be the last adjustment, not the first.
Set the Flame: Neutral, Sharp and Quiet
Light the acetylene first, then open the oxygen valve until the flame becomes neutral. A neutral flame has a sharp inner cone and a smooth blue outer envelope. It should not show a feathery white stream of excess acetylene, and it should not have the short, hissing cone of an oxidizing flame. For most brazing work, neutral is the default because it gives predictable heat without adding soot or scaling the joint.
A slightly reducing flame can be useful on some steels or with certain flux and filler combinations, but a heavy carbonizing flame deposits soot and interferes with flux action. Keep the inner cone just above the work rather than driving it into the joint. Heat the thicker section first, bring the whole joint up evenly, and let the filler flow when the flux becomes clear and active.
Choose the Tip and Torch for the Joint
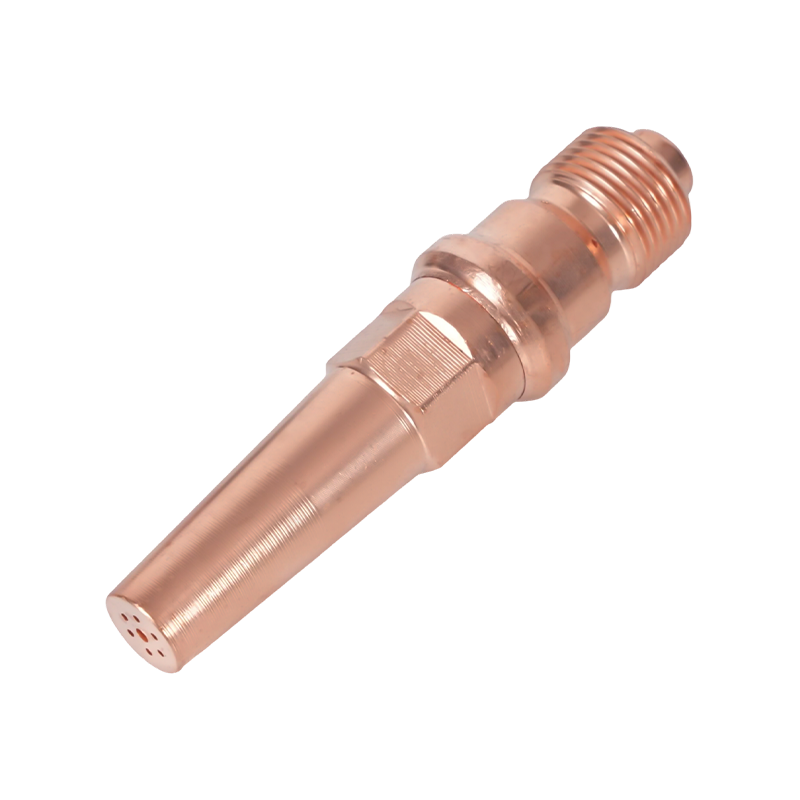
Tip size matters more than most operators expect. A brazing tip spreads heat over a wider area than a welding tip of similar size, which helps bring a fitting up evenly. Use the smallest tip that reaches flow temperature in a reasonable time. A tip that is too small encourages long heating, oxidation and uneven expansion; a tip that is too large overheats the flux and can melt the base metal at the edge of the joint.
Check that the tip seats cleanly, the O-rings are in good condition and the torch valves move smoothly. If the flame changes when the torch is moved, inspect the hose and connections before blaming the regulator. For a broader checklist on tip selection and maintenance, see this guide to cutting torch tips and nozzle care.
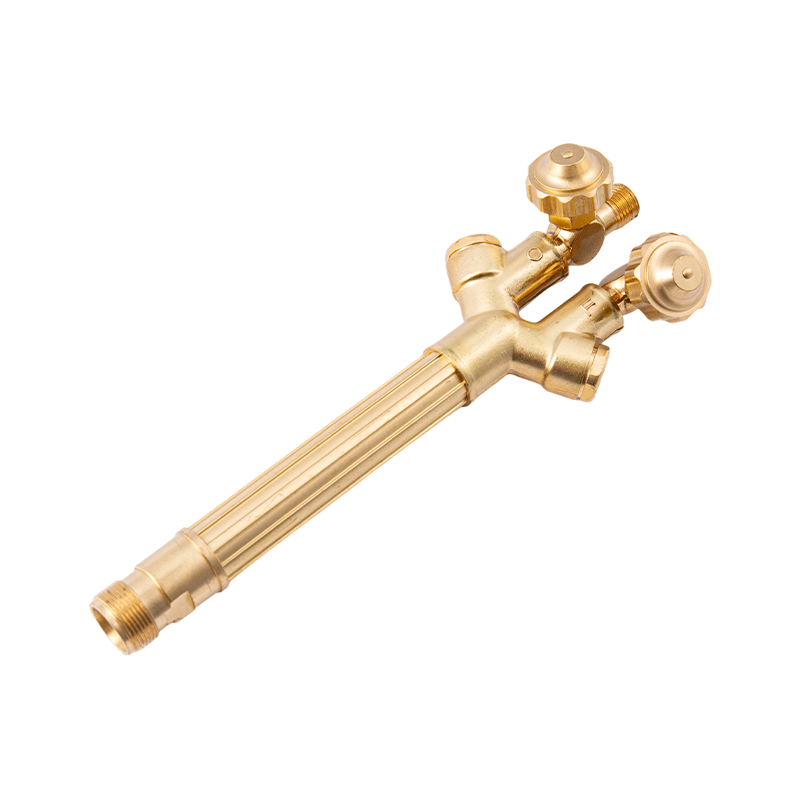
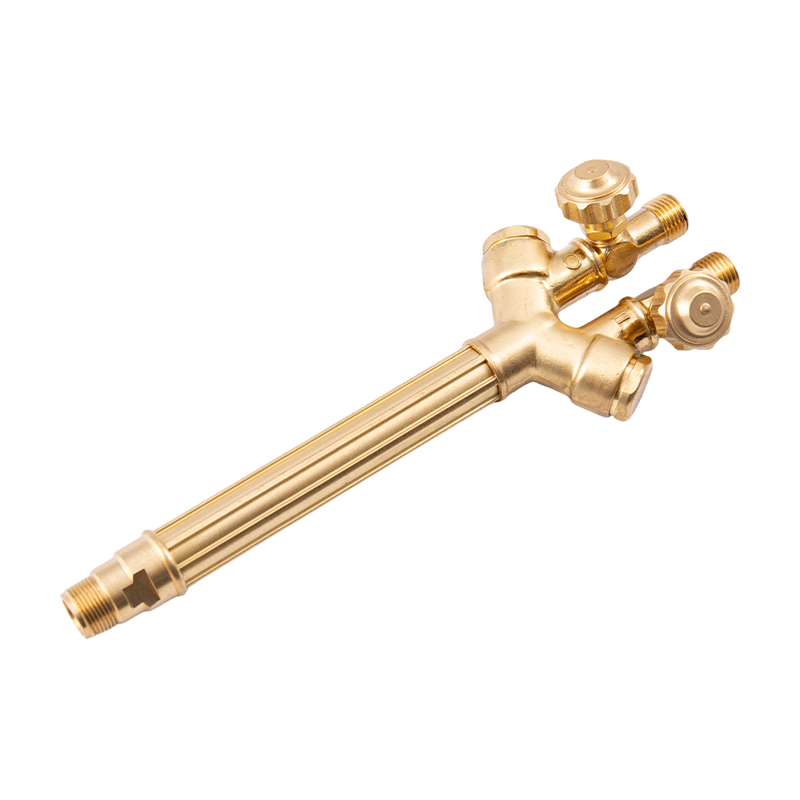 A223 Medium-Duty Propane Cutting and Brazing Torch HandleFor propane cutting and brazing, this medium-duty handle combines precise stainless needle valves, built-in flashback protection and simplified maintenance.View Product →
Step-by-Step Setup for a Repeatable Braze
- Clean the joint, apply the correct flux and set the work on a heat-resistant surface.
- Check hoses, torch valves, tip condition and flashback arrestors before opening any cylinder valve.
- Back off the regulator screws, open the cylinder valves and set the starting delivery pressures.
- Purge each hose separately, away from the work, then close the torch valves.
- Open the acetylene torch valve slightly, light the flame and then open the oxygen valve to neutral.
- Adjust the flame at the torch valves, not by chasing the regulator gauges while the flame is burning.
- Heat the joint evenly, test the flux condition, apply filler at the joint edge and let capillary action draw it in.
Common Setting Problems and What They Tell You
Most brazing faults show up in the flame or flux before the joint fails. Correct the setting, not the symptom.
- Popping or squealing: the tip may be overheated, clogged or loose; shut off the torch, check the tip seat, clean the orifice and restart with a lower setting.
- Sooty flame: excess acetylene or insufficient oxygen; readjust to neutral and check that the tip is not partly blocked.
- Filler balls up and refuses to flow: the joint is not hot enough, the tip is too small or the flux is not active; increase tip size or improve heat coverage before raising pressure.
- Flux turns black or boils away: the flame is too large or too concentrated; reduce the tip size, soften the flame and move it more evenly.
- Backfire or flashback: close both torch valves immediately, allow the torch to cool and inspect the tip, hoses and flashback arrestors before reuse.
A flashback arrestor supports safety, but it does not replace a clean tip, a tight connection and a sensible flame setting. Replace damaged hoses and use leak-test solution on every connection after reassembly.
 B288 Series Oxy-Acetylene Flashback ArrestorFor oxy-acetylene work, this arrestor adds reverse-flow and flashback protection, with multiple thread and flow-rate variants for different torch setups.View Product →
Shutdown and a Final Pressure Check
Close the torch valves, close the cylinder valves, drain the pressure from the regulators and then back off the adjusting screws. Let the work cool before handling it, and store cylinders upright with caps fitted when they are not in use. If the joint was overheated, cut it out and start again rather than adding more filler over a burnt flux residue.
A reliable oxy-acetylene brazing setup feels almost uneventful. The gauges sit low, the flame stays quiet and neutral, and the filler flows into the joint without a fight. Start with modest pressures, match the tip to the work, keep the flame neutral and make one change at a time. That approach gives cleaner joints and a much shorter path to repeatable results.