
 English
 中文简体
Three faults account for most poor oxy acetylene cuts: a tip that is too large for the plate, regulator pressures set by memory instead of by a chart, and a connection that leaks just enough to pull the flame off neutral. The handle brand, the hose colour and the way the torch is held matter far less than those three. So the sequence below follows the order a set actually goes together on the bench: hardware, pressure, leak test, flame, cut.
This is a practical walkthrough for a two-hose acetylene set feeding a cutting attachment, the arrangement found in fabrication shops, repair bays and scrap yards. Oxy-propane uses the same torch body with different tips and slightly different pressures; where the two differ, it is flagged.
Content
Assemble the Handle and Attachment Before Anything Else
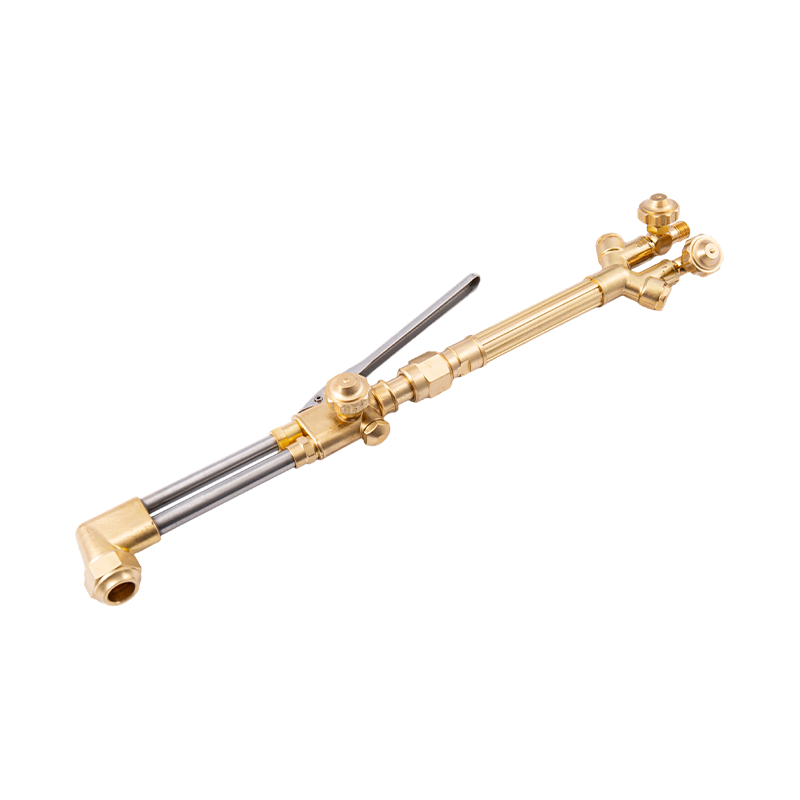
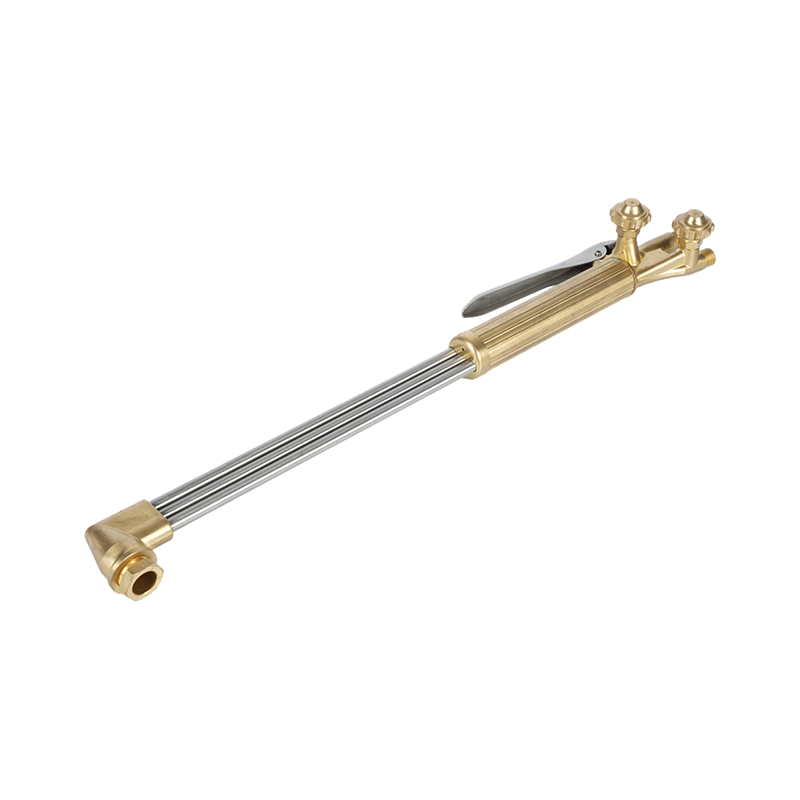
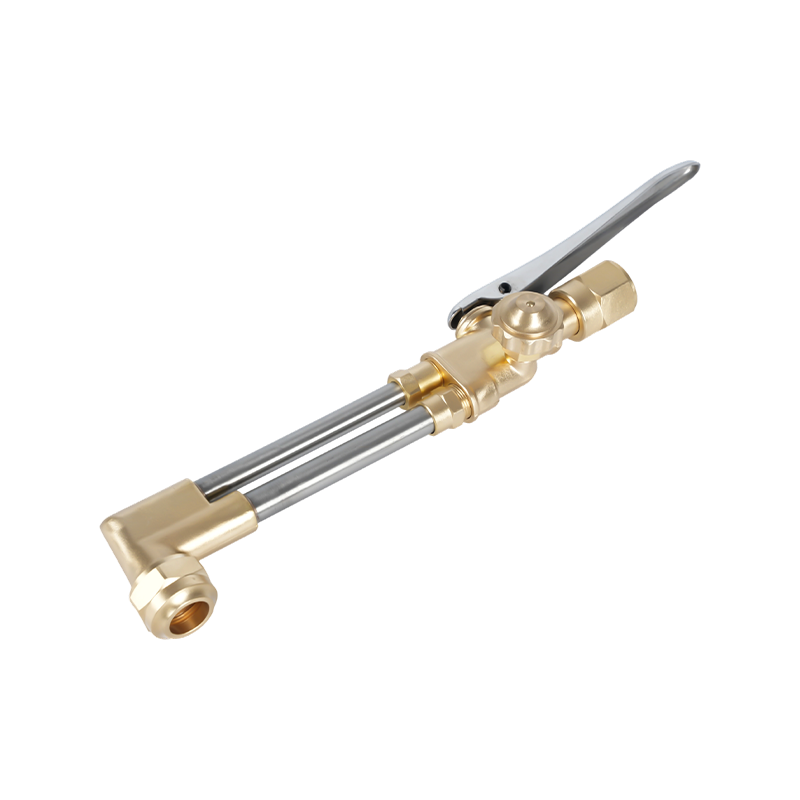
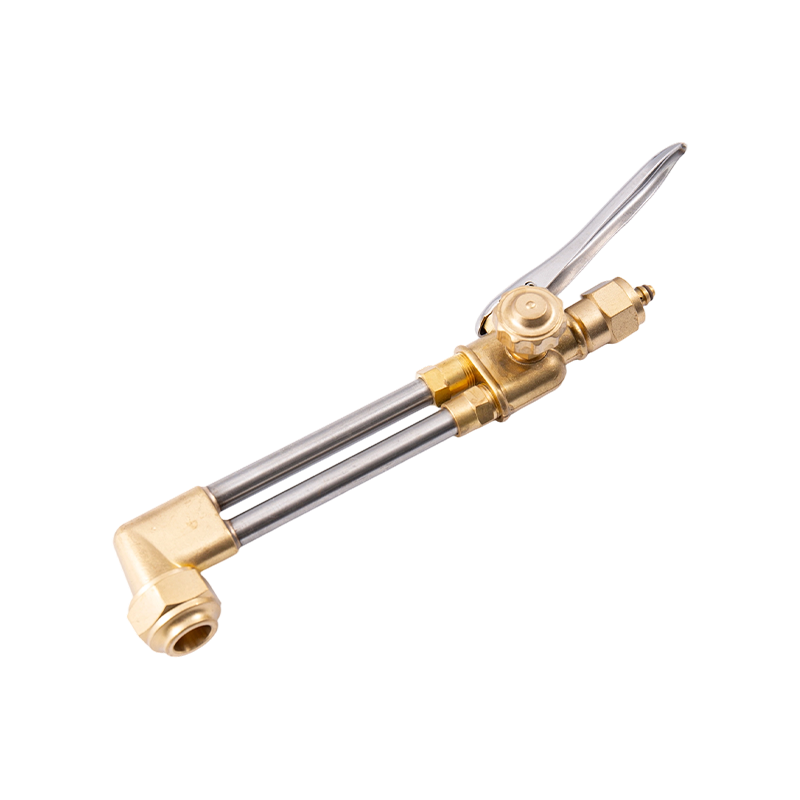
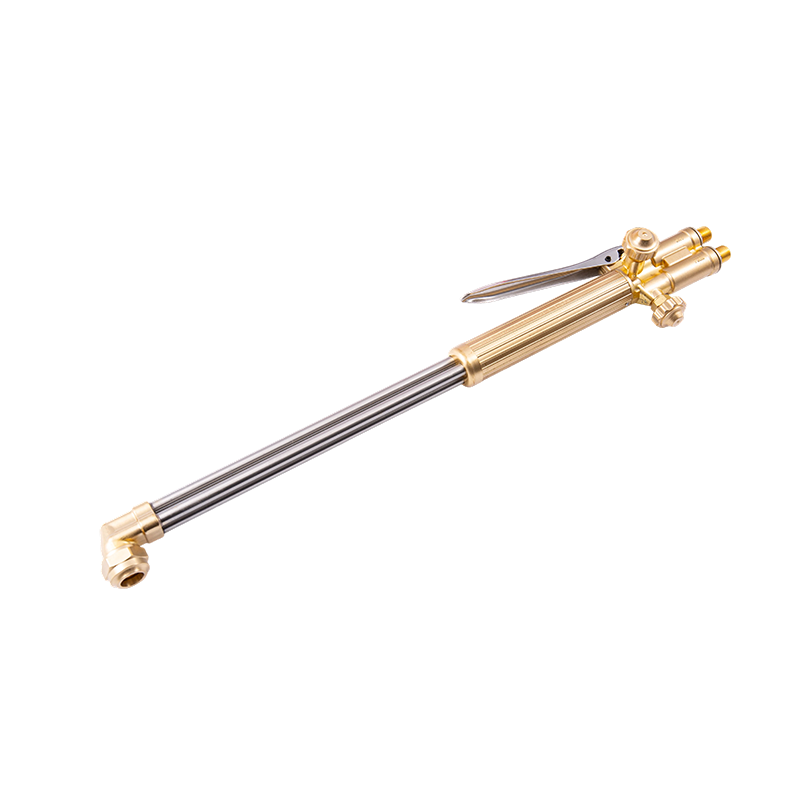
Thread the cutting attachment onto the handle by hand until it seats, then snug it with a wrench on the flats, never on the tubes. Two details decide whether that joint behaves: the mating seats must be clean and dry, and the seals must match the torch family. Mixing an Australian-pattern attachment with an American-pattern handle produces a joint that looks tight and leaks the moment pressure arrives.
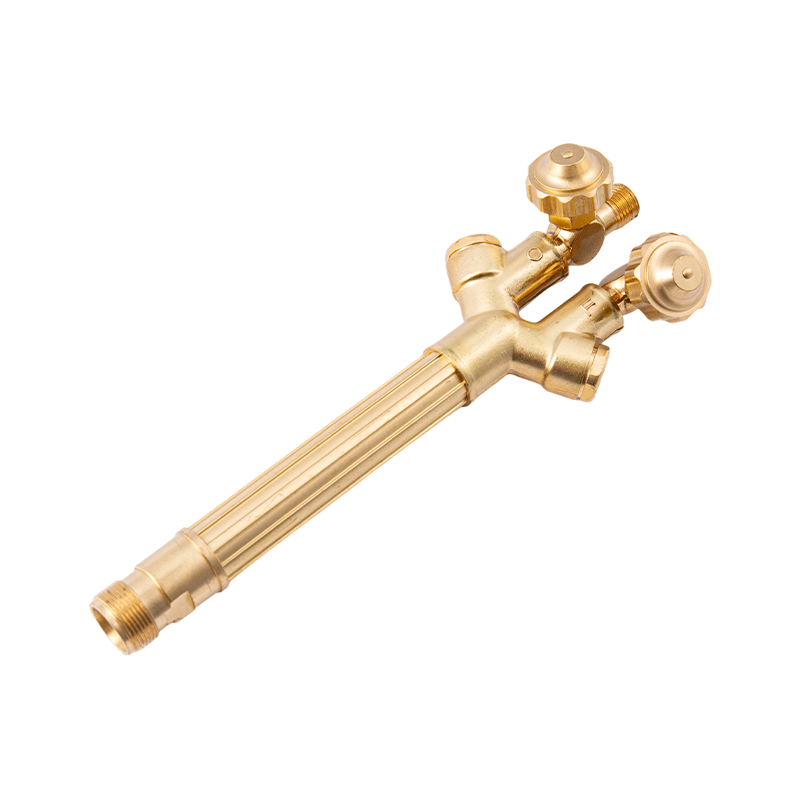
Which family you own is stamped on the handle or the attachment. American, Australian, British and Japanese patterns use different threads and seat angles and are not interchangeable. Before ordering a replacement part, confirm the pattern, the gas the set is rated for, and whether the handle is heavy, medium or light duty. Running a light-duty handle at heavy-duty pressures is one of the quiet causes of flashback.
Check the valves next. They should turn smoothly and seat fully by hand; a valve that needs pliers to close is a valve that gets left half open. Blow the fittings clear with dry air or oxygen, never with your mouth and never with anything oily.
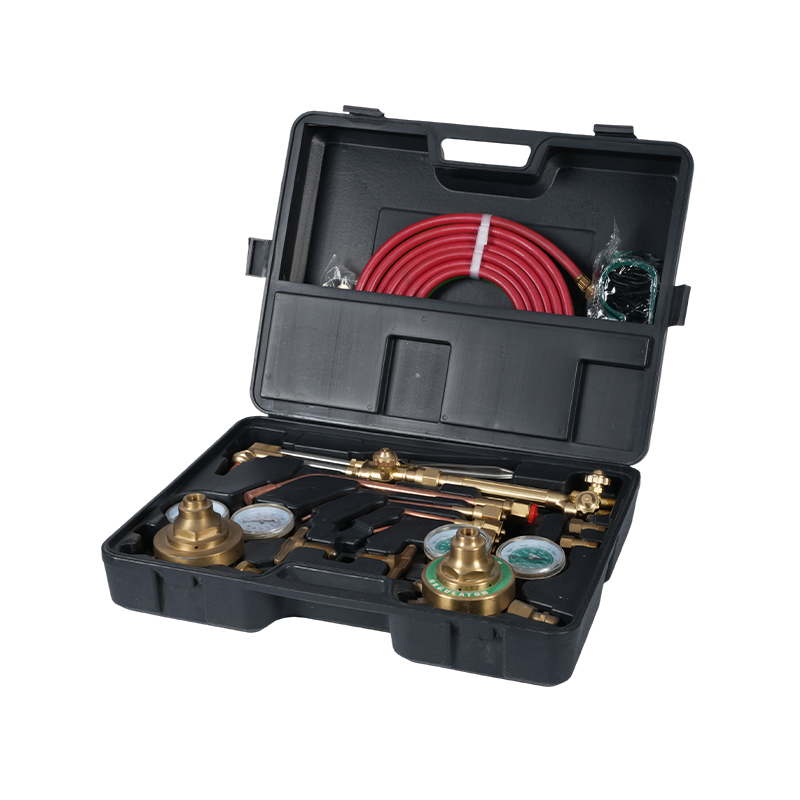 A217K Heavy Duty Oxy-Acetylene Cutting Torch SetA heavy-duty cutting, welding, and heating kit with A211 handle and A212 attachment, relevant when checking valves and setting regulator pressures before use.View Product →
Set Regulator Pressure With the Torch Valves Closed
Back both regulator screws out until they turn freely, then open the cylinder valves: acetylene no more than one and a half turns, oxygen all the way. Crack each torch valve briefly to purge the hose, close it, then bring the acetylene regulator to its working setting and shut the torch valve again before repeating on the oxygen side. Setting pressure while gas is flowing gives a reading that collapses the moment you light the torch.
Pressure is a function of tip size, not of habit. The values below are typical starting points for cutting mild steel with a two-hose acetylene set. They are starting points only, because tip geometry varies between makers and every torch should ultimately be set against its own chart.
| Plate thickness | Typical tip size | Oxygen pressure | Acetylene pressure |
|---|---|---|---|
| 1/4 in (6 mm) | 0 | 20-25 psi | 3-5 psi |
| 1/2 in (12 mm) | 1 | 25-30 psi | 4-6 psi |
| 3/4 in (20 mm) | 2 | 30-35 psi | 5-7 psi |
| 1 in (25 mm) | 3 | 35-40 psi | 6-8 psi |
| 2 in (50 mm) | 5 | 45-55 psi | 8-10 psi |
Two hard limits sit behind those figures. Acetylene becomes unstable above roughly 15 psi in a hose or torch body, which is why fuel gauges rarely read higher, and why delivery pressure rather than cylinder pressure is what you set. Oxygen has no torch-side limit at these values but does have one at the regulator seat: no oil, no grease, no lubricated tools anywhere on the oxygen side.
Leak Test Every Joint Before the First Flame
Close both torch valves, pressurise both lines, and brush soapy water on the cylinder connections, regulator outlets, hose couplings and the handle-to-attachment joint. No bubbles is the pass mark. A standing-pressure test is a useful second check: note both gauge readings, wait two minutes, read them again. A creeping needle means gas is escaping somewhere downstream even if the soap missed it.
Hoses deserve the same attention. Red for fuel, green or black for oxygen, with left-hand threads on the fuel side so the two cannot be swapped by accident. Look for cracks near the crimp and retire any hose that has been crushed, burned or stained with oil; a hose that has absorbed oil is a fire path, not a hose.
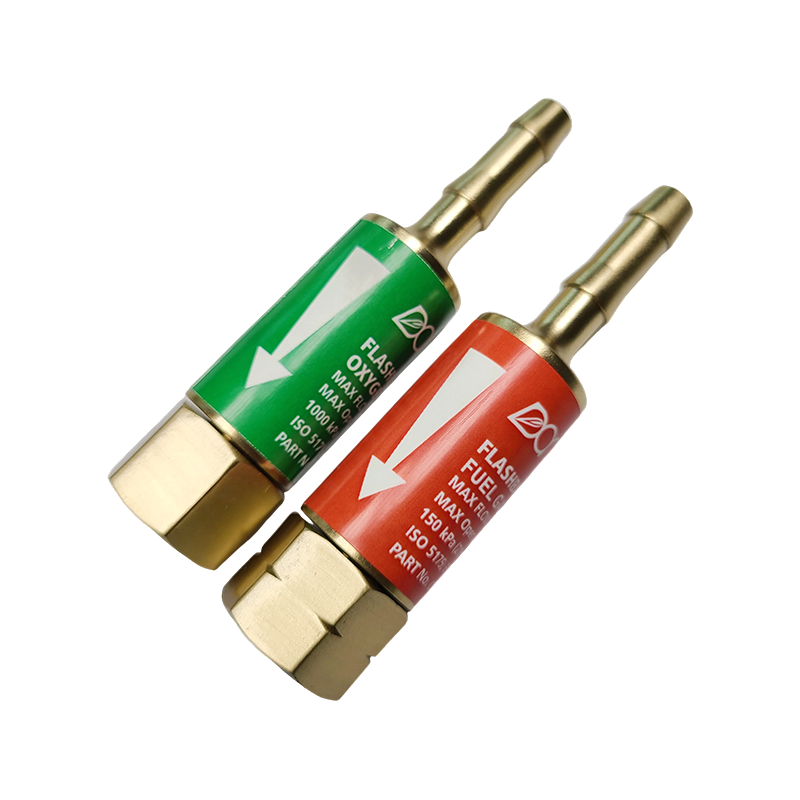
 B288 Series Oxy-Acetylene Flashback ArrestorsSafety components that prevent flashbacks and reverse gas flow, available in multiple thread and gas-type models for oxy-acetylene torch setups.View Product →
Fit flashback arrestors at the regulator outlets, or confirm the set already includes them. They are among the cheapest components in the system and the only ones that stop a flame front travelling back up a hose.
Light, Adjust to Neutral, Then Cut
Open the acetylene torch valve about a quarter turn, light with a striker, then open the oxygen valve until the feathery outer envelope disappears into a sharply defined inner cone. That is a neutral flame. Add more oxygen and the cone shortens and begins to hiss: an oxidising flame that erodes the cut edge and shortens tip life.
To cut, preheat until the steel is cherry red, then open the oxygen cutting lever fully and travel at a steady speed. Standoff is around 1/8 in. Too close and the tip overheats; too far and the preheat stalls. A cut that needs constant reheating usually points to a tip that is too small or pressure that is too low, while heavy slag and a rounded top edge usually point to an oversized tip or travel that is too slow.
- Close the fuel valve on the torch.
- Close the oxygen valve on the torch.
- Close both cylinder valves.
- Open the torch valves to bleed residual pressure, then back the regulator screws out.
Leaving pressure in a hose overnight is how hoses get damaged and gauges end up reading the wrong thing the next morning.
Treat Tip Selection as Part of the Setup
Acetylene tips and propane tips are not interchangeable. Orifice geometry and preheat hole count differ, which is why a set that cuts cleanly on acetylene will struggle on propane with the same tip fitted. Keep one tip per thickness range rather than one tip for everything, and clear the orifice with a tip cleaner before blaming the flame.
A worn tip is restored by a clean orifice and an undamaged seat, not by a bigger size. If cut quality falls away and the pressures are correct, replace the tip rather than reaming it; a reamed orifice loses its shape and the flame stops being round.
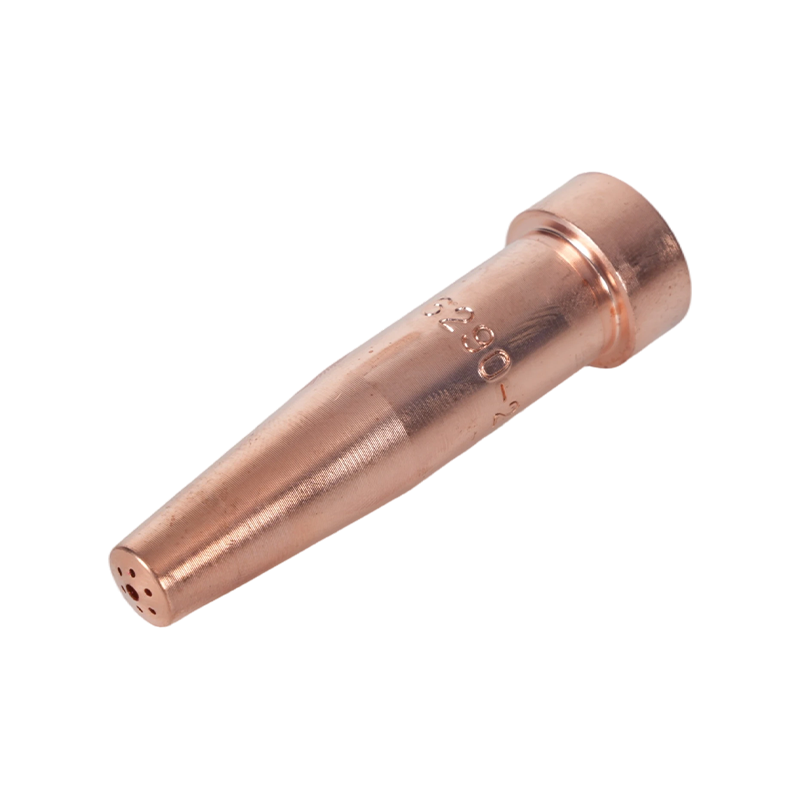 6290 Series Acetylene Cutting Tip NozzleAcetylene-only cutting tip for American-style torches, available in models covering 1–300 mm steel thicknesses and relevant when replacing worn tips.View Product →
What to Confirm Before Buying a Set
Four questions separate a workable outfit from a frustrating one: which regional pattern the handle and attachment use, whether the tip series is stocked locally in the thicknesses you actually cut, whether arrestors and check valves are included rather than extra, and whether the handle is rated for the duty cycle the shop runs. A forged brass heavy-duty handle costs more than a light aluminium one and survives a different kind of working week.
It is also worth checking that seats, tips and handles are sold separately from the kit. A set that can only be repaired by replacing the whole outfit is not a bargain at any price.
Crews new to oxy-fuel should be walked through the shutdown order and the standing-pressure test before they touch a cutting lever; this summary of safety precautions when using a cutting torch covers flashback warning signs and protective equipment. To match a handle, attachment and tip series to a specific plate range, or to discuss a private-label supply requirement, contact the team with your thickness, gas type and regional pattern.