
 English
 中文简体

A clean oxy-acetylene cut is mostly a matter of order and numbers. Inspect the outfit, set each regulator to the pressure chart for the tip in the torch, purge both hoses, light the acetylene and tune a neutral flame, then bring the steel to a bright orange-red before pressing the oxygen lever. Skip a step and the kerf shows it.
This guide runs through the full sequence for an acetylene cutting torch: inspection, pressures, purging, lighting, flame adjustment, cutting travel, shutdown, and the defects that point to one specific setup error.
Content
- 1 What the Torch Is Really Doing
- 2 Inspect the Outfit Before You Open a Valve
- 3 Set Regulator Pressures for Your Tip
- 4 Purge, Light, and Tune the Flame
- 5 Cutting: Preheat, Pierce, and Travel
- 6 Reading Cut Defects
- 7 Shutdown in the Right Order
- 8 Safety Rules That Are Not Optional
- 9 Tips, Nozzles, and Spares That Change the Cut
What the Torch Is Really Doing
An acetylene cutting torch does not melt steel through the plate. The preheat flame raises a narrow band of metal to its ignition temperature, roughly 1,600 F (870 C), and then the central oxygen jet burns the iron into iron oxide and blows it clear. The gap left behind, the kerf, is oxidized metal rather than melted metal.
That is why oxygen pressure and travel speed matter more than muscle. Acetylene supplies the heat and a compact, hot inner cone. Oxygen performs the cutting. The fuel side always runs at low pressure because acetylene becomes unstable above roughly 15 psi and can decompose inside the hose.
Inspect the Outfit Before You Open a Valve
Most bad cuts and nearly all accidents start with a part that should have been checked first. Work through the outfit in a fixed order so nothing is missed:
- Cylinders: upright and secured, acetylene key or wrench within reach, never dragged or rolled.
- Hoses: check for cracks, burns, and loose fittings, and keep only acetylene-rated hose on the fuel side.
- Regulators: adjusting screws backed out, gauges reading zero, no oil or grease on the oxygen fittings.
- Flashback arrestors: fitted at the regulator outlets or torch inlets, and never removed just to make a connection reach.
- Torch and tip: clean orifices, correct tip size, undamaged seat, snug tip nut, and valves that close fully.
A worn tip is easy to overlook. A bell-mouthed or oversized orifice wastes oxygen, widens the kerf, and makes the cut wander no matter how steady your hand is.
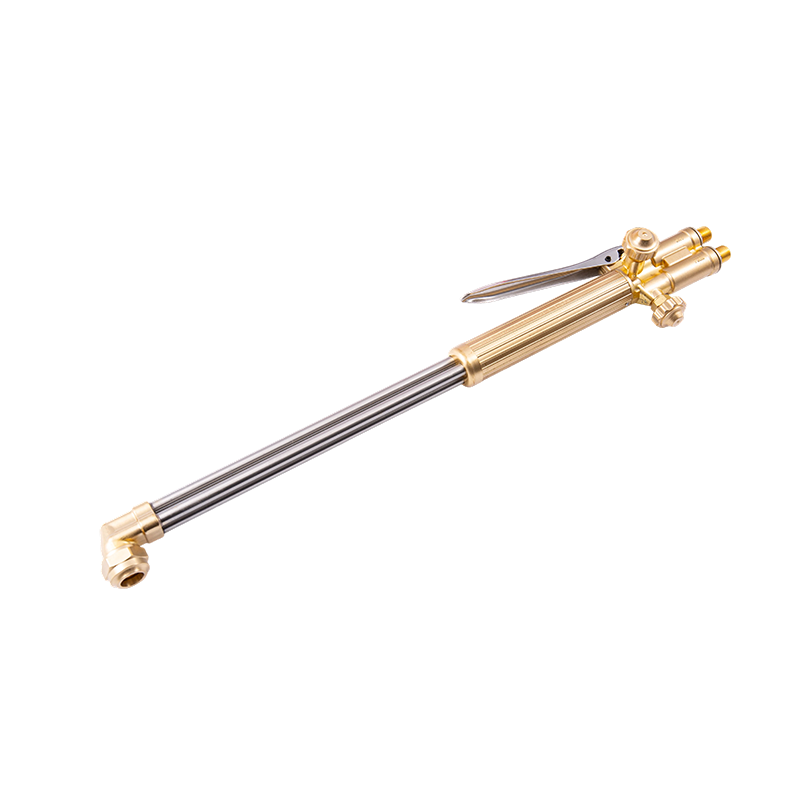
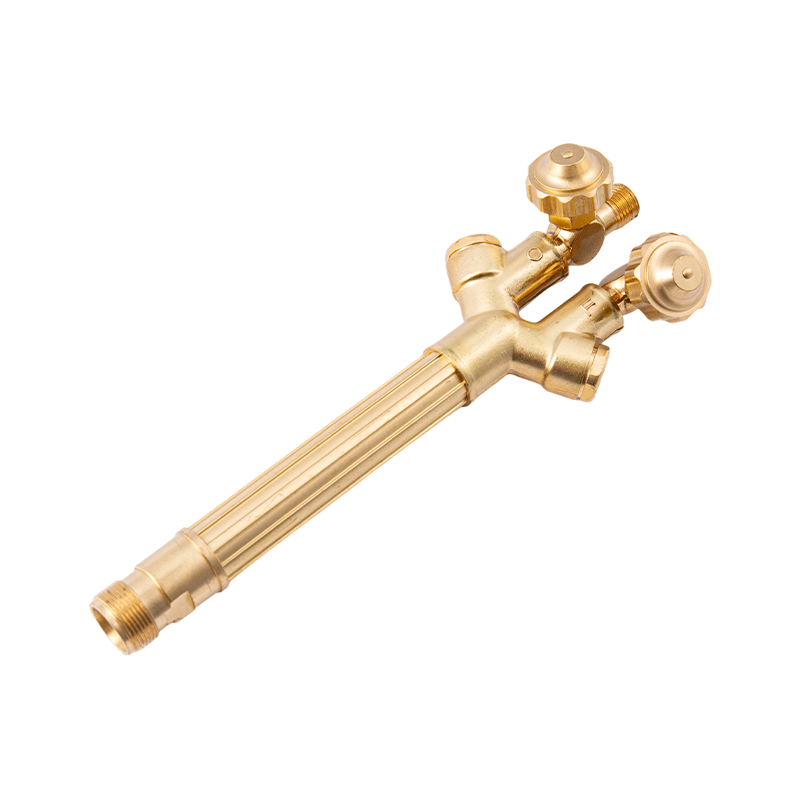
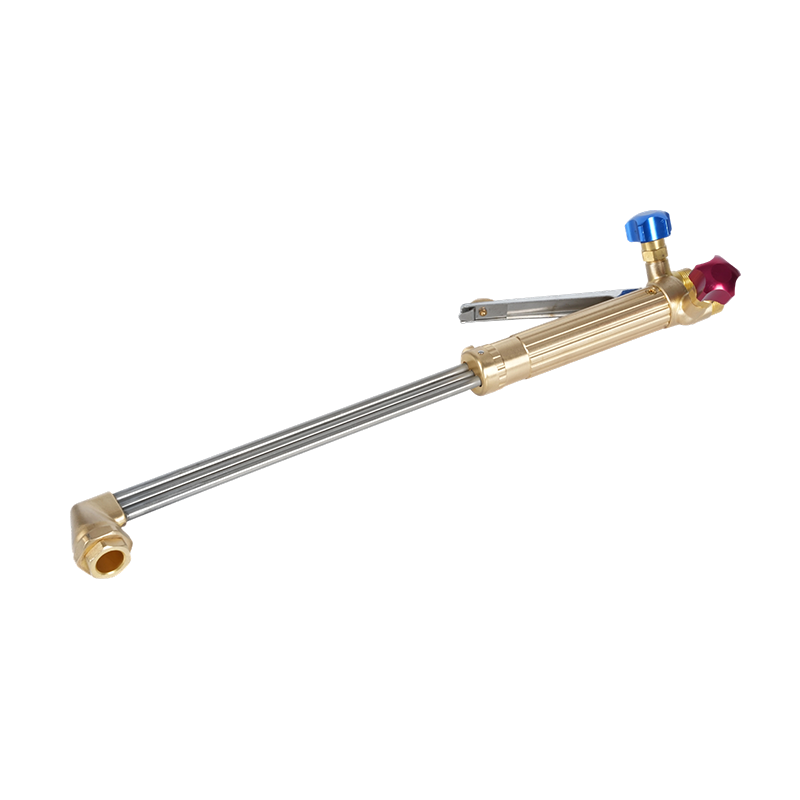
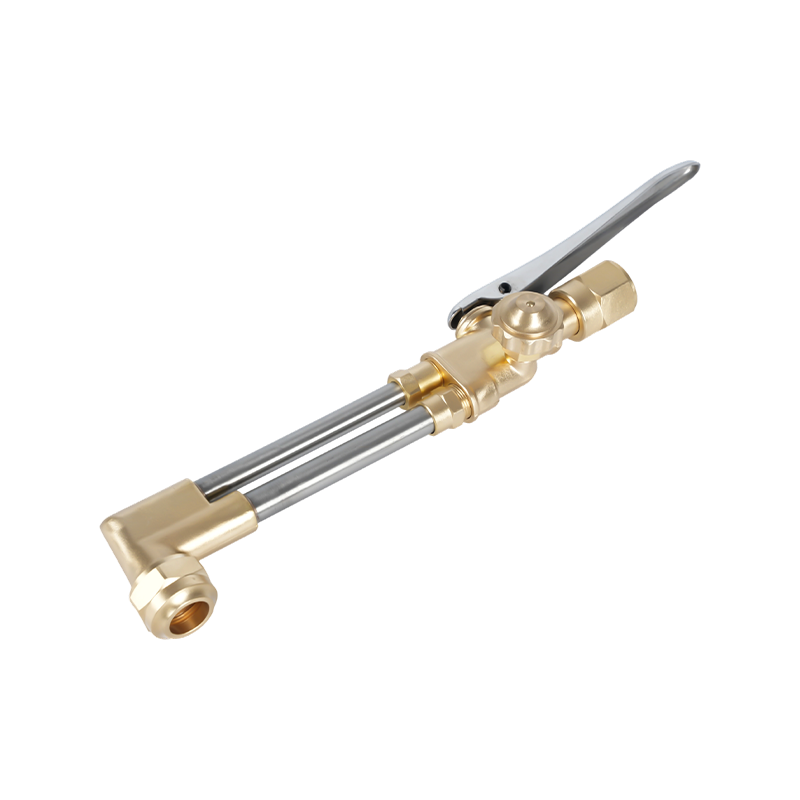
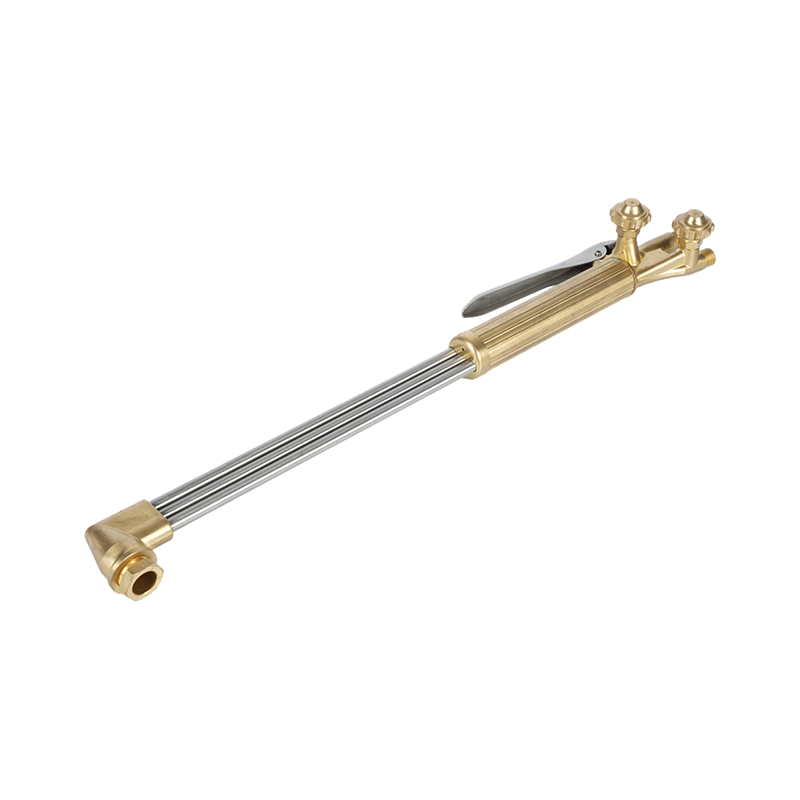 B400 Heavy-Duty Handheld Oxygen Acetylene Cutting TorchWhen a worn tip or pressure setting affects cut quality, this heavy-duty torch provides stable gas flow, forged brass durability, and 300 mm cutting capacity.View Product →
Set Regulator Pressures for Your Tip
Set pressures with the regulator adjusting screws, with the torch valves closed, and confirm them on the gauges. Acetylene stays low, usually 3 to 6 psi for hand cutting, and must never exceed 15 psi. Oxygen usually runs between 20 and 40 psi depending on tip size and plate thickness.
| Tip size | Plate thickness | Acetylene pressure | Oxygen pressure |
|---|---|---|---|
| 0 | 1/8 to 1/4 in (3 to 6 mm) | 3 psi | 20 psi |
| 1 | 1/4 to 1/2 in (6 to 12 mm) | 4 psi | 25 psi |
| 2 | 1/2 to 3/4 in (12 to 20 mm) | 5 psi | 30 psi |
| 3 | 3/4 to 1-1/2 in (20 to 40 mm) | 5 psi | 35 psi |
| 4 | 1-1/2 to 3 in (40 to 75 mm) | 6 psi | 40 psi |
Treat the chart as a starting point. If heavy dross appears, pressure is not automatically the culprit; tip condition and travel speed are just as likely.
Purge, Light, and Tune the Flame
Purge each hose separately before lighting. Open one torch valve for two or three seconds, close it, then repeat on the other side. This pushes air out of the lines so the first flame is predictable.
Open the acetylene torch valve about one eighth to one quarter of a turn and light the gas with a striker. Increase the acetylene until the soot and the jumping flame disappear. Leave the acetylene cylinder valve open no more than one and a half turns so it can be shut off quickly, and open the oxygen cylinder valve fully so the valve seats in its back position.
Then bring in the oxygen slowly until the inner cone is sharp and defined and the feathery acetylene tail just vanishes. That is a neutral flame, and it is the setting for cutting steel.
The three flame settings
- Carburizing: excess acetylene, with a soft feather beyond the inner cone. Slow preheat and a tendency to deposit carbon.
- Neutral: sharp inner cone, no feather. The standard cutting flame for mild steel.
- Oxidizing: a short inner cone with a hiss. It adds heat quickly but produces scale and rough edges when used carelessly.
Cutting: Preheat, Pierce, and Travel
Hold the tip perpendicular to the plate, about 1/8 to 1/4 in above the surface, and preheat the edge until it glows a bright orange-red. Press the oxygen lever fully and move into the cut with a steady hand. The oxygen jet does the work from that moment on.
For a cut that begins inside the plate, angle the tip, preheat a small spot, then open the oxygen slowly until the spot burns through before you straighten the torch and continue.
Travel speed is judged by sound and sparks. A steady hiss, sparks leaving in a straight line, and a clean kerf under the tip mean the speed is right. Too fast leaves an incomplete cut and drag lines at the bottom. Too slow overheats the plate, rounds the top edge, and produces heavy dross.
Hand torches handle roughly 1/4 to 2 in (6 to 50 mm) of steel comfortably. Heavier plate needs a larger tip and longer preheat, and hand cutting above about 4 in becomes a test of patience rather than technique.
Reading Cut Defects
Most hand cutting defects have more than one possible cause, but the pattern in the kerf narrows it down quickly.
| What you see | Usual cause | What to adjust |
|---|---|---|
| Cut stops short of the bottom | Travel too fast or oxygen pressure too low | Slow down, verify tip size and oxygen setting |
| Heavy top dross, rounded top edge | Travel too slow, oversized tip, too much preheat | Increase travel speed, fit a smaller tip |
| Tight dross stuck under the plate | Travel too fast, low oxygen flow, tip too small | Raise oxygen, ease the travel speed, step up one tip size |
| Ragged, wide kerf | Worn or dirty tip, wrong standoff, damaged seat | Clean or replace the tip and reset the standoff |
| Backfire or popping | Overheated tip, tip touching the work, loose tip nut | Cool the tip, tighten the nut, recheck pressures |
Shutdown in the Right Order
Close the fuel valve on the torch first, then the oxygen valve on the torch, then the cylinder valves. Open the torch valves one at a time to purge the remaining pressure from each hose until both gauges read zero, then close the torch valves again.
Back out both regulator adjusting screws until they turn freely, and confirm that no pressure creeps back onto the gauges. Coil the hoses without kinking them, store the torch with the valves closed, and never leave the outfit pressurised overnight.
Safety Rules That Are Not Optional
Acetylene cutting has a short list of hard rules, and they exist because the failure mode is a flashback rather than a spoiled cut:
- Fit flashback arrestors on both the oxygen and fuel lines, and treat them as service parts, not lifetime fittings.
- Never exceed 15 psi acetylene, and withdraw no more than about one seventh of a cylinder's contents per hour while the cylinder stands upright.
- Keep oil, grease, and hydraulic fluid away from oxygen fittings and hoses.
- Cut only with ventilation or local extraction, because burned metal and coatings release serious fumes.
- Use a striker rather than a match, and wear tinted goggles or a face shield.
- Never cut into a drum, tank, or pipe that held fuel or an unknown substance without documented cleaning.
Setup shortcuts are the least forgiving part of this work. For a fuller checklist you can hand to a crew, our guide to cutting torch safety precautions is worth printing and posting near the bench.
 B288 Series Oxy Acetylene Flashback ArrestorWhen setup shortcuts are risky, this arrestor prevents flashbacks and reverse gas flow, with multiple connection models.View Product →
Tips, Nozzles, and Spares That Change the Cut
Tip selection is the smallest decision with the largest effect on cut quality. The orifice has to match plate thickness first, and the tip family has to match the fuel gas second, because acetylene tips are built differently from propane tips and will not interchange cleanly.
Acetylene cutting tips carry a straight drilled orifice in a single-piece body, and they wear in a predictable way. Once the bore enlarges or the face erodes, oxygen consumption rises and the kerf widens, even with the same pressure settings that worked last month. Cleaning with the correct tip cleaner and keeping a spare set on the shelf is cheaper than fighting the cut.
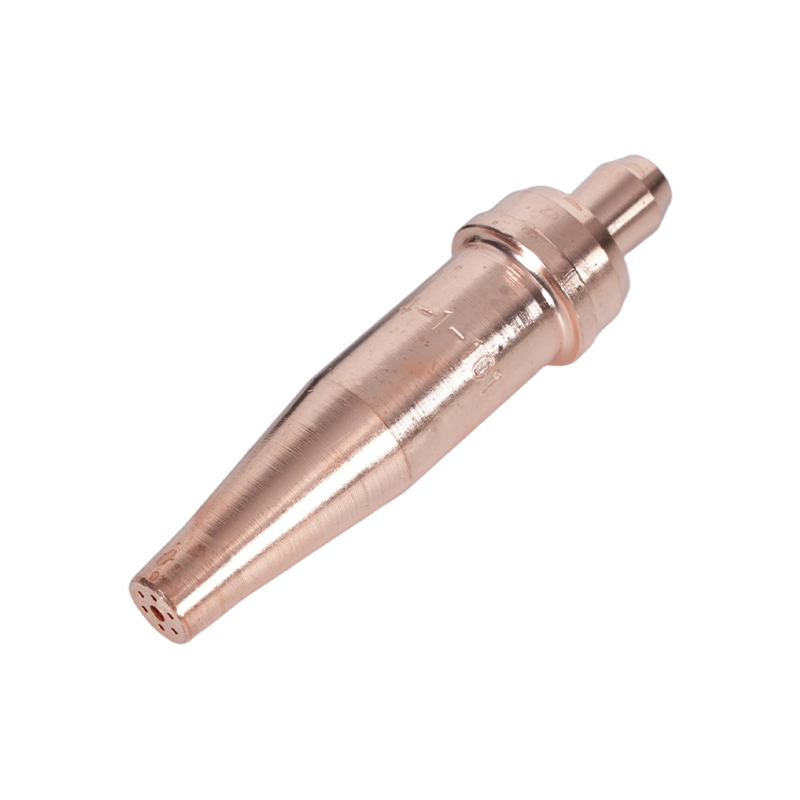 1-101 Series Acetylene Torch TipsWhen worn tips widen kerfs and raise oxygen use, these acetylene tips offer 76 mm length, 5–200 mm range, and broad torch compatibility.View Product →
The sequence never really changes: inspect, set pressures to the chart for the tip, purge, light the acetylene, tune the flame to neutral, preheat to orange, cut with steady travel, then shut down in order. A well maintained outfit with clean tips does most of the work before your hand does anything.
If you need help matching a torch body, handle, or tip to the gas you cut with, or you want quantities and lead times for a shop or a reseller programme, our team can walk you through the options.