
 English
 中文简体
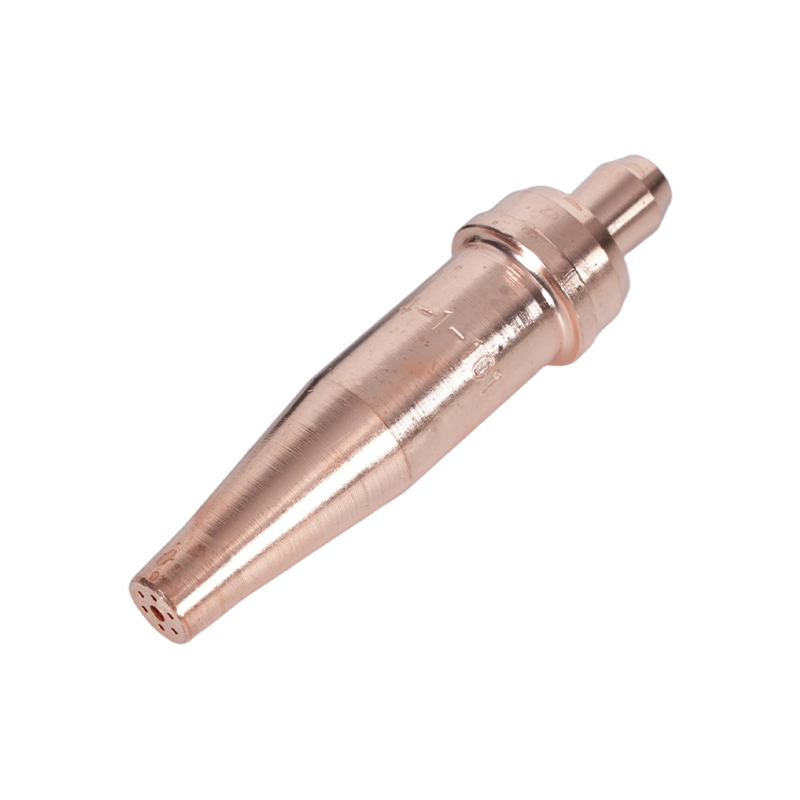
A #1 tip, roughly 28 psi of oxygen and 4 psi of acetylene will take a 6 mm mild steel plate apart in a few seconds. Run the same torch onto 25 mm plate without touching anything and the cut stalls halfway, the kerf widens, and someone ends up grinding the edge back into tolerance.
Nothing about the operator changed. Oxy-acetylene cutting is one of the few metalworking processes where setup decisions — tip size, gas pressure, standoff and travel speed — decide more of the result than the hand holding the torch. The guidance below covers the setup sequence, tip and pressure selection, flame adjustment, safety hardware, and the hardware choices that make cuts repeatable.
Content
Where Cut Quality Is Actually Decided
Three variables control the cut: oxygen jet velocity at the tip, preheat heat input, and travel speed. Two of the three are locked in before the flame is lit, which is why a torch that "cuts badly" usually has a setup problem rather than an operator problem.
- Tip orifice condition and size set jet velocity. A tip that has been reamed, dropped, or run at the wrong pressure for its size loses velocity and leaves the classic rough, washed-out kerf.
- Regulator settings set preheat and cutting oxygen flow. Low oxygen pressure gives slow, incomplete cuts; excessive pressure creates turbulence, a wide kerf and hard dross.
- Travel speed is the only variable adjusted live during the cut. Drag lines angled 10 to 15 degrees behind vertical mean the speed is about right; nearly vertical lag lines mean too slow, and flattened lag lines mean too fast.
Setup Sequence: Order of Operations
Work through the same sequence every time. Most complaints about a "faulty torch" trace back to a skipped step here rather than to the torch itself.
- Inspect before connecting: cracked or swollen hose jacket, damaged tip seat, worn valve packing.
- Crack each cylinder valve briefly to blow out dust, then close it again.
- Fit the regulators and tighten the inlet nuts with a correctly sized wrench, never pliers or a pipe wrench.
- Install flashback arrestors or reverse-flow check valves at the regulator outlets or torch inlets, whichever your site code requires.
- Connect hoses to the correct spigots and confirm the fittings are the right left-hand or right-hand thread pair.
- Open cylinder valves slowly. On an acetylene cylinder, open no more than one and a half turns so it can be shut off quickly.
- Set working pressures with the torch valves open, then close them.
- Leak test every joint with soapy water or leak-detection fluid. Never with a flame.
- Light with a spark striker, not a disposable lighter or a match.
Tip Selection and Gas Pressure
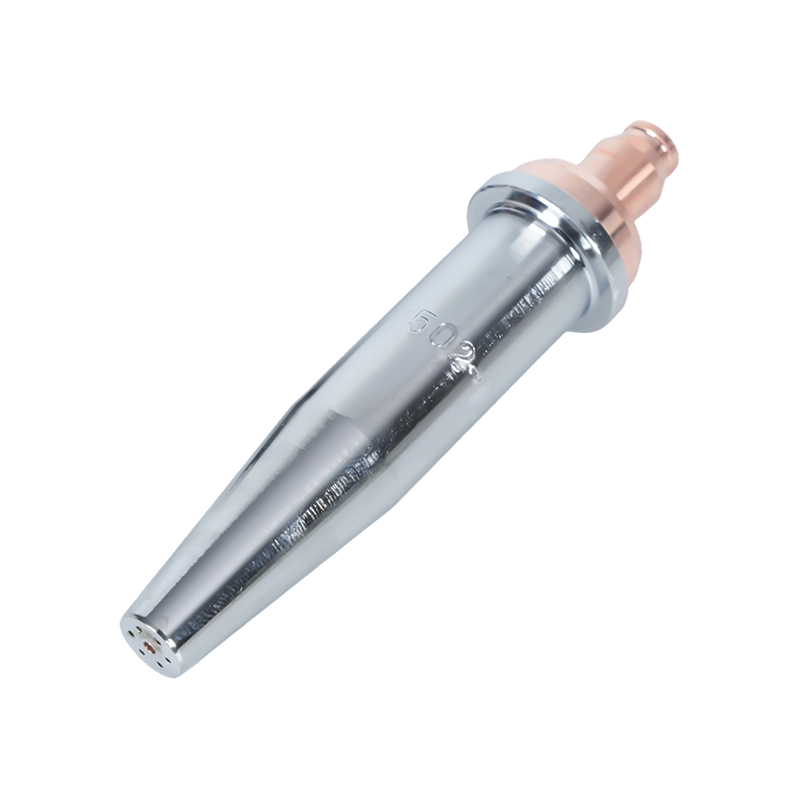
Tip size is matched to plate thickness first, and everything else follows from it. A tip rated for 6 mm cannot be forced through 25 mm by raising the pressure; the orifice simply will not pass enough oxygen, and the extra pressure turns into turbulence that erodes the cut face.
Region patterns matter just as much. A tip that fits a US-style torch seat will not seat correctly on an Australian or British pattern torch even when the thread looks close. Two-piece propane tips add a second difference: preheat and cutting orifices are separate, so they are not interchangeable with one-piece acetylene tips.
| Plate thickness | Typical tip size | Oxygen pressure | Acetylene pressure | Practical note |
|---|---|---|---|---|
| 3 to 6 mm | 0 or 1 | 20 to 25 psi | 3 to 5 psi | Fast travel, short preheat |
| 6 to 12 mm | 1 or 2 | 25 to 30 psi | 4 to 6 psi | Steady speed, even drag lines |
| 12 to 25 mm | 2 or 3 | 30 to 40 psi | 5 to 8 psi | Slower travel, watch for dross |
| 25 to 50 mm | 3 or 4 | 40 to 50 psi | 7 to 10 psi | Pierce at the plate edge |
| 50 to 100 mm | 5 or 6 | 50 to 60 psi | 8 to 12 psi | High oxygen flow, two-stage preheat |
Once the cut is running, adjust from the chart rather than away from it. A rounded top edge with dross welded to the bottom usually means oxygen pressure is too high or travel is too slow. A soft, gummy dross line and an incomplete break-through usually mean pressure is too low or travel is too fast.
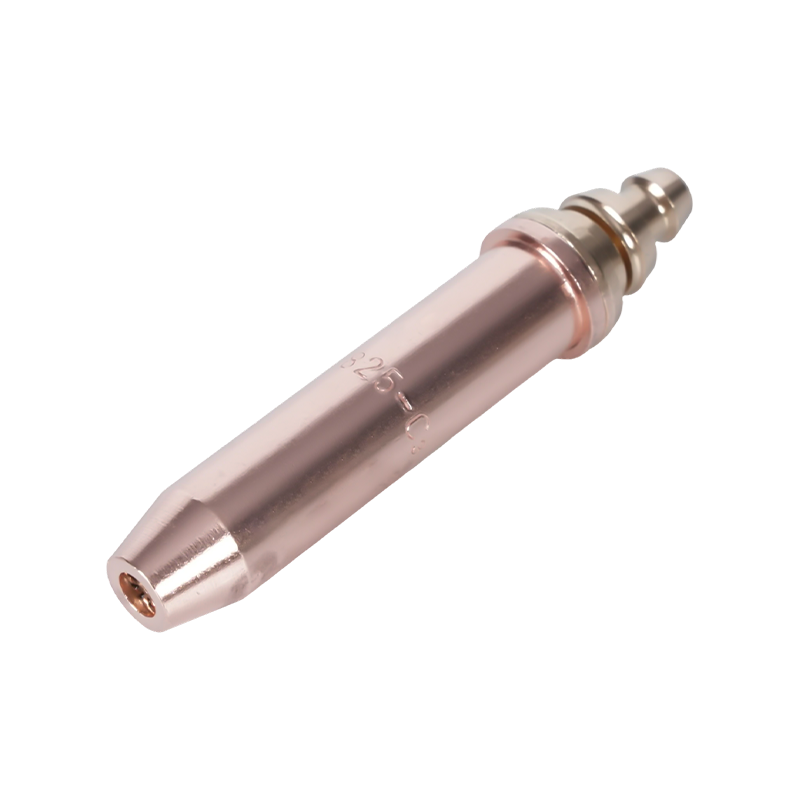
Tip care is the cheapest performance upgrade available. Clean orifices with the correct tip cleaner, never a drill bit or welding wire, and replace any tip whose preheat holes have gone oval or whose seat is scratched. Our guide to cutting torch tip selection, setup and maintenance covers cleaning routines and troubleshooting in more detail.
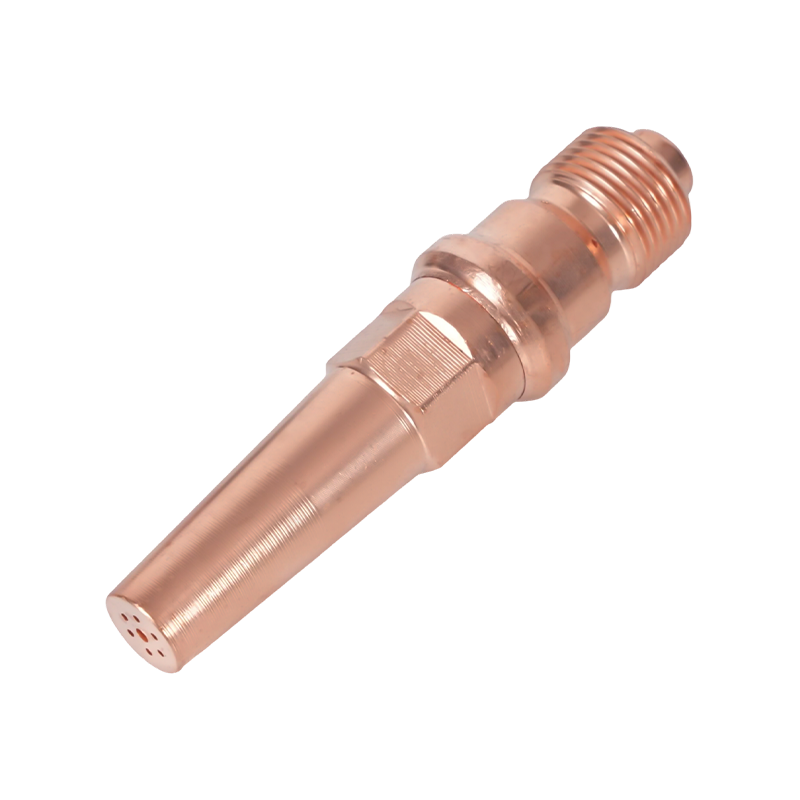
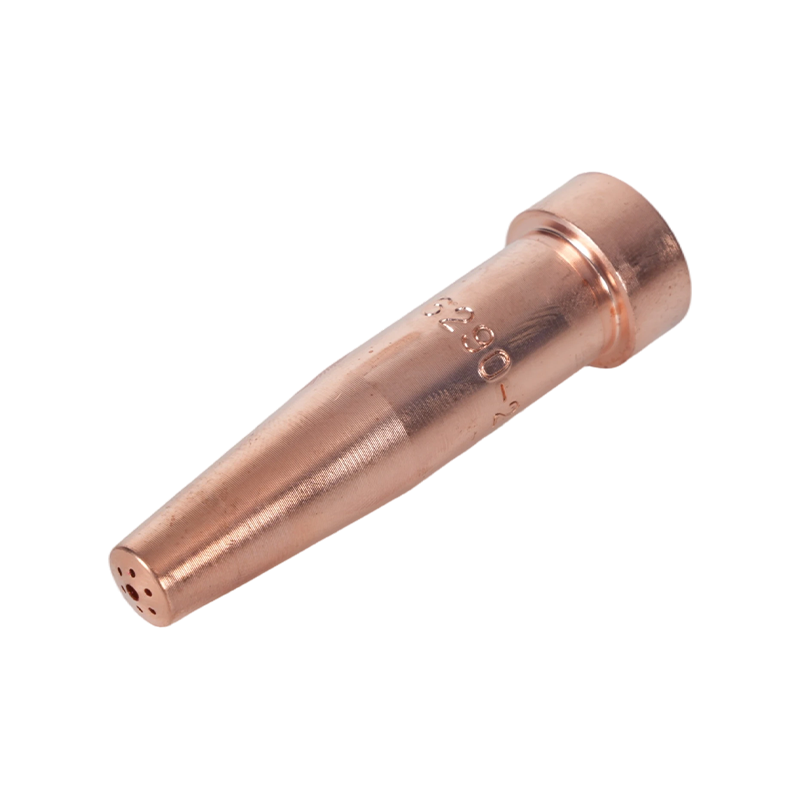 6290 Series Acetylene Cutting Tip for American-Style TorchesThis acetylene cutting tip fits A735 and A623 torches and covers 1–300 mm steel; useful for thin-plate and piercing work where acetylene remains preferred.View Product →
Acetylene or Propane
For 20 mm plate and above, propane usually wins on cost per metre of cut. For thinner plate, piercing and any brazing or heating work, acetylene remains the better fuel.
- Acetylene burns hotter in oxygen, close to 3,100 degrees Celsius, and preheats faster, which suits thin plate, piercing and welding.
- Propane has a lower flame temperature but a larger heat envelope that holds on thick sections, and it is cheaper per cylinder and safer to store.
- Acetylene is unstable above roughly 15 psi, so acetylene pressures stay low and the cylinder valve rule matters.
- Propane consumes noticeably more oxygen for the same cut, so oxygen refills become the main running cost.
- The two fuels need different tips. Swapping them changes flame shape, preheat time and cut quality.
Flame Adjustment and Cutting Technique
Light the acetylene first, then add oxygen until the inner cone is bright, sharply defined and rounded at the tip. That neutral flame is what most cutting charts assume. An oxidizing flame with a short, pointed cone cuts some steels faster but wears tips and oxidises the cut face; a carburising flame with a long feather adds carbon and slows the cut, so it is generally kept for specific heating jobs.
Bring the tip to the plate at roughly 90 degrees, preheat the start point to a dull cherry red, then open the cutting oxygen lever fully and move off. Hold the standoff steady at 3 to 5 mm. Riding the tip on the plate overheats it and washes out the kerf. For bevelled cuts, tilt the torch in the direction of travel and ease the speed slightly so the bevel stays straight.
Safety Hardware That Belongs in Every Setup
Flashback arrestors and reverse-flow check valves are the two items most often missing from a torch that has been in service for years. A check valve stops gas flowing backwards; a flashback arrestor also stops a flame front travelling back down the hose toward the regulator and cylinder. Arrestors at the regulator outlet protect the hose and cylinder, while arrestors at the torch inlet protect the operator end. Many site codes require both.
- Oxygen and fuel hoses are not interchangeable; use the correct grade and colour convention for your region.
- Never use oxygen in place of compressed air for cleaning or blowing down.
- Ventilate the work area; acetylene, propane and oxygen all change the composition of the air around the operator.
- Keep a fire watch for the period your hot work permit specifies, commonly 30 minutes after the last cut.
- Check hoses for burns and cracks each shift; a hose that has been run over by a plate is a leak waiting to show up.
 B288 Series Oxy-Acetylene Flashback ArrestorOften missing from older torches, this arrestor protects oxy-acetylene welding and cutting setups from flashback and reverse flow, with oxygen and gas models.View Product →
Matching the Torch Body and Handle to the Job
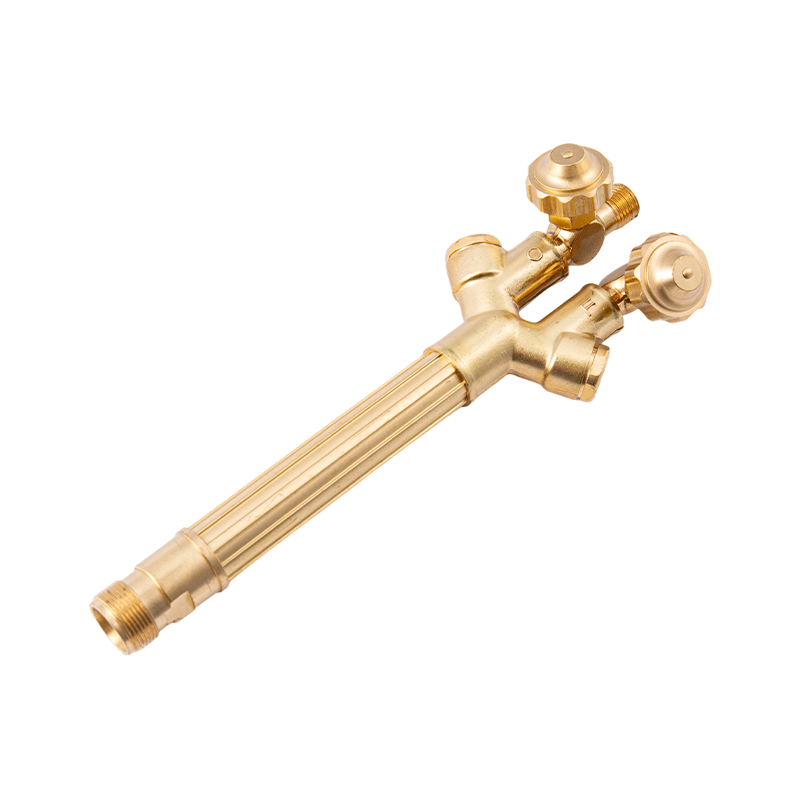
Torch hardware is graded by duty: heavy, medium and light. A heavy-duty cutting attachment with a matching handle holds pressure and stays cool through thick-plate production cutting. A light-duty handle does the same job on sheet metal with less weight in the hand, but it will not survive continuous work on 50 mm plate.
Three details decide whether a torch fits an existing setup. The region pattern determines tip, attachment and handle compatibility, since US, Australian, British and Japanese patterns use different seat and thread standards. The format matters too: attachment-and-handle combinations are cheaper to maintain because only the worn part is replaced, while one-piece hand torches are simpler for occasional use. Material follows the working position, with brass bodies resisting heat and wear and holding threads well, and aluminium handles cutting weight for overhead work.
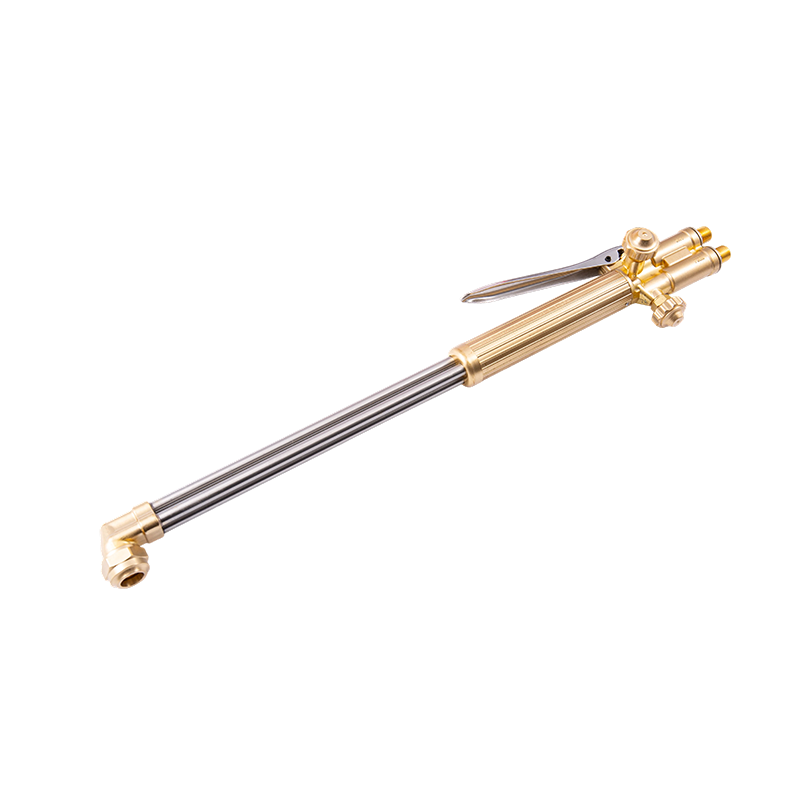
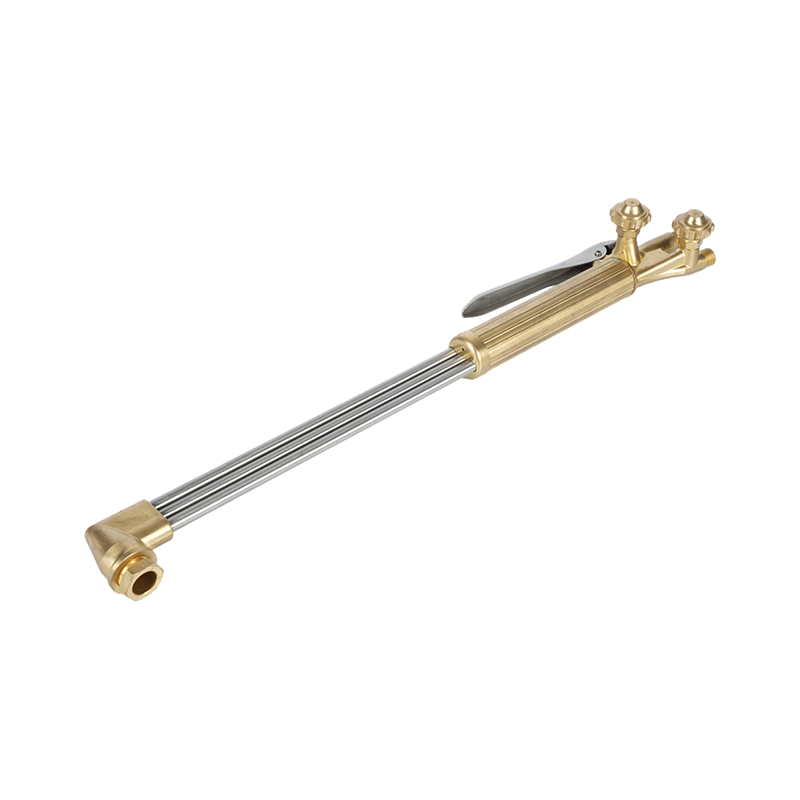 B400 Heavy-Duty Handheld Oxygen Acetylene Cutting TorchHeavy-duty handheld torch for acetylene or propane cutting up to 300 mm, with dual-tube flow and forged brass head; suits fabrication, shipbuilding and repair.View Product →
Sourcing Torches, Tips and Spares
For distributors and fabricators, the practical questions are about continuity: can the same tip series be re-ordered in two years, are seats and threads consistent batch to batch, and can spares be supplied under your own label? A supplier that runs material, mould making, forging, machining and testing in-house can hold those tolerances, and can also produce parts to a customer drawing when no standard pattern fits an existing torch.
If you are matching tips and handles to an existing fleet, or planning an OEM range, send your drawings and thread specifications through our contact page and we will come back with the closest standard pattern or a custom option.