Stick welding — formally called Shielded Metal Arc Welding (SMAW) — is the most widely used manual welding process in the world. It works by striking an electric arc between a flux-coated consumable electrode (the "stick") and the base metal, melting both together to form a strong weld joint. If you're learning to weld for the first time, working outdoors, or dealing with rusty or dirty metal, stick welding is the most practical and forgiving starting point.
It requires minimal equipment, works in wind and rain, and runs on metal that other processes would reject. Here's a complete, practical guide to how it works, how to set it up correctly, and how to avoid the mistakes that plague beginners.
Content
- 1 How Stick Welding Works
- 2 Equipment You Need to Get Started
- 3 Choosing the Right Electrode
- 4 Setting Amperage Correctly
- 5 Technique: Arc Length, Travel Speed, and Electrode Angle
- 6 Reading Your Weld Bead to Diagnose Problems
- 7 Stick Welding Positions and What Each Demands
- 8 Stick Welding vs. MIG and TIG: When Stick Is the Right Choice
- 9 Safety Essentials Specific to Stick Welding
- 10 Practical Tips to Improve Faster
How Stick Welding Works
The stick electrode serves two purposes simultaneously: it conducts electricity to create the arc, and it melts into the weld pool as filler metal. The flux coating on the electrode does two more things — it generates a shielding gas as it burns to protect the molten weld from atmospheric contamination, and it forms a slag layer on top of the finished bead that further protects the weld as it cools.
The complete process in sequence:
- The welder clamps the work lead (ground) to the base metal
- An electrode is inserted into the electrode holder
- The electrode tip is scratched or tapped against the metal to strike an arc
- The arc melts both the electrode and the base metal, forming a weld pool
- The welder moves steadily along the joint, feeding the arc forward
- Slag is chipped away with a chipping hammer once the bead cools
Unlike MIG or TIG welding, there is no external shielding gas cylinder required. This is the core reason stick welding thrives in field environments — pipelines, shipyards, structural steel, farm repairs — where portability and wind resistance matter.
Equipment You Need to Get Started
Stick welding has one of the lowest equipment barriers of any welding process. A basic setup costs significantly less than MIG or TIG and can be operational in minutes.
Welding Machine
Stick welders are available in two main types:
- Transformer/AC machines: Older, heavier, inexpensive ($150–$400). Reliable for basic structural work. Limited to AC output.
- Inverter-based DC machines: Lightweight (some under 15 lbs), energy efficient, and capable of DC+ or DC− output. Cost $200–$800. Better arc control and compatible with a wider range of electrodes.
For beginners, a DC inverter machine in the 140–200 amp range covers the vast majority of stick welding jobs on metal from 1/16" to 3/8" thick.
Essential Accessories
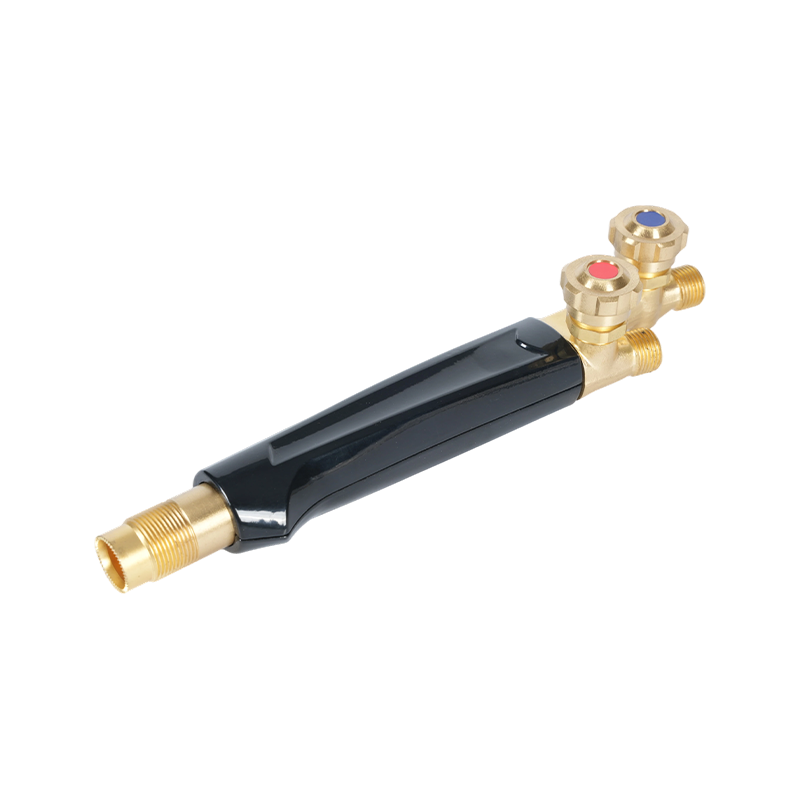
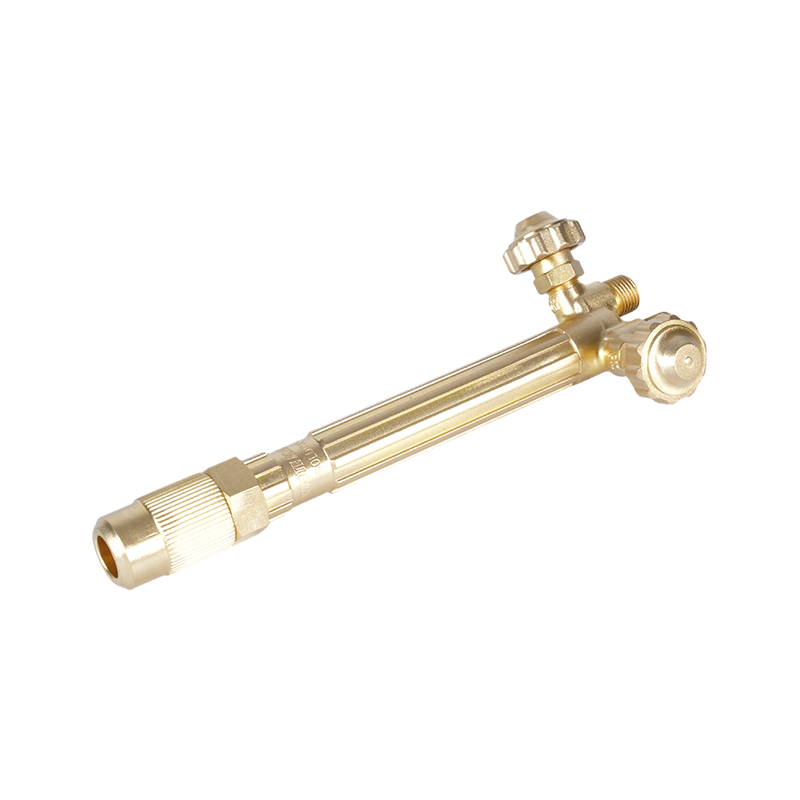
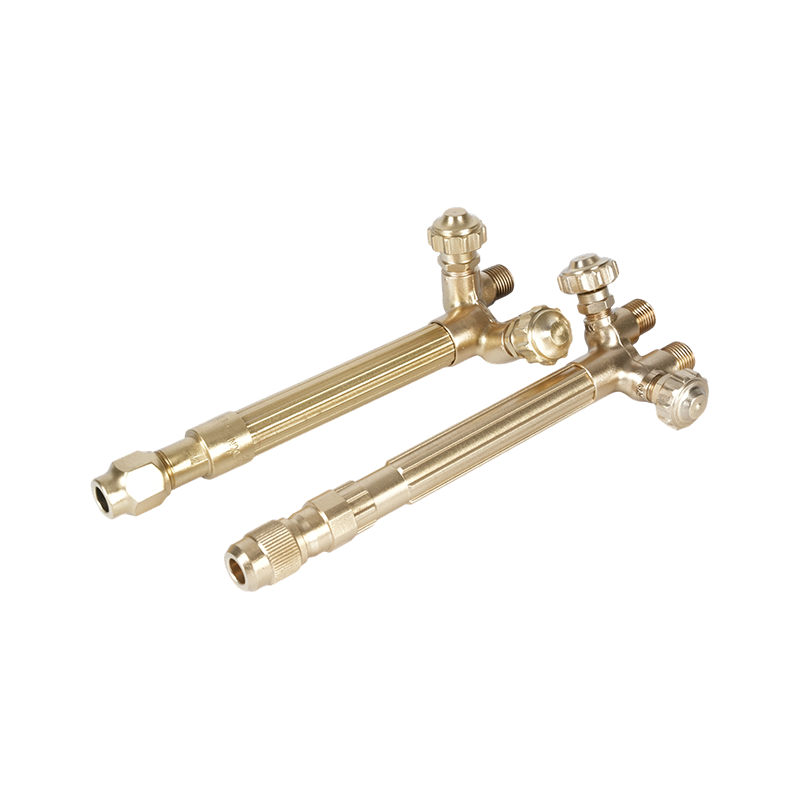
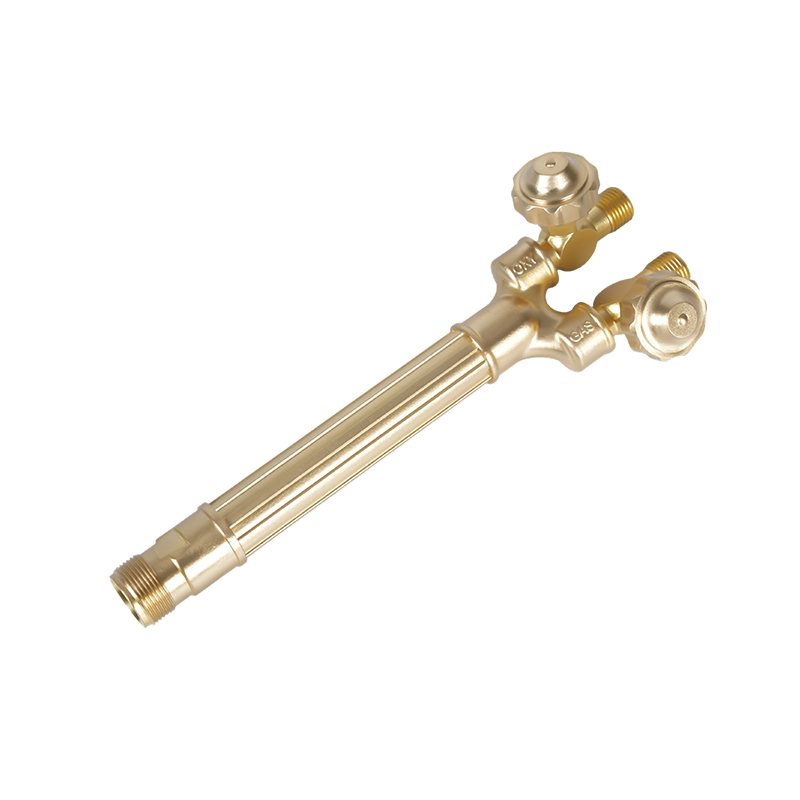
- Electrode holder (stinger): Clamps the electrode and conducts current to it
- Work clamp (ground clamp): Completes the electrical circuit through the base metal
- Welding helmet: Auto-darkening helmets (shade 10–13) are strongly recommended for beginners; they allow clear vision until the arc strikes
- Chipping hammer: For removing the slag layer after each pass
- Wire brush: For cleaning the weld between passes
- Leather gloves, jacket, and boots: Stick welding produces significant spatter; full coverage is non-negotiable
Choosing the Right Electrode
Electrode selection is the most technically important decision in stick welding. The wrong rod for the job produces weak, porous, or cracked welds regardless of technique. Electrodes are classified by the AWS (American Welding Society) numbering system stamped on every rod.
Reading an electrode number like E6013: "E" = electrode; "60" = minimum tensile strength of 60,000 PSI; "1" = usable in all positions; "3" = flux type and current compatibility.
| Electrode | Best For | Current Type | Skill Level |
|---|---|---|---|
| E6013 | Thin mild steel, sheet metal, beginners | AC or DC | Beginner |
| E6011 | Rusty/dirty metal, all-position, field repair | AC or DC | Beginner–Intermediate |
| E7018 | Structural steel, code-quality welds | DC+ (preferred) | Intermediate |
| E6010 | Pipeline root passes, deep penetration | DC+ only | Intermediate–Advanced |
| E7024 | Flat/horizontal, high deposition rate | AC or DC | Intermediate |
Start with E6013 (3/32" diameter) if you're a beginner. It has a soft arc, easy slag removal, and tolerates imperfect technique better than any other rod. Move to E7018 once you're comfortable — it produces the strongest, cleanest welds and is required for most structural and code work.
Storing Electrodes Properly
Low-hydrogen electrodes like E7018 are highly moisture-sensitive. Absorbed moisture causes hydrogen-induced cracking — a serious structural failure mode. Store E7018 rods in a rod oven at 250–300°F if they've been exposed to humidity for more than a few hours. E6013 and E6011 are far less sensitive but should still be kept in sealed containers when not in use.
Setting Amperage Correctly
Amperage is the most critical machine setting in stick welding. Too low and the arc sputters, sticks, and produces a cold, convex bead with poor fusion. Too high and you get excessive spatter, burn-through, and undercut along the weld edges.
A widely used starting rule: set approximately 1 amp per 0.001 inch of electrode diameter. In practice, this means:
| Electrode Diameter | Typical Amperage Range | Suitable Metal Thickness |
|---|---|---|
| 1/16" (1.6mm) | 20–40A | Up to 3/16" |
| 3/32" (2.4mm) | 40–90A | 1/8"–1/4" |
| 1/8" (3.2mm) | 75–130A | 1/4"–3/8" |
| 5/32" (4.0mm) | 105–180A | 3/8"–1/2" |
| 3/16" (4.8mm) | 140–240A | 1/2" and above |
Always start in the middle of the range and adjust based on what you observe. If the electrode sticks to the metal, increase amperage. If you see heavy spatter or the arc is erratic and loud, reduce it. Joint position also matters — overhead and vertical welding typically require 10–15% less amperage than flat welding.
Technique: Arc Length, Travel Speed, and Electrode Angle
Consistent technique is what separates clean welds from defective ones. Three variables control everything: arc length, travel speed, and electrode angle.
Arc Length
The correct arc length equals the diameter of the electrode core wire — roughly 1/8" for a 1/8" rod. Holding the arc too long produces a wide, flat bead with porosity and spatter. Too short and the electrode stubs into the puddle, freezing or causing erratic arc behavior. Think of it as a constant gap you maintain by steadily advancing the rod as it consumes.
Travel Speed
Moving too slowly builds up excessive reinforcement and can trap slag. Moving too fast produces a narrow, undercut bead with poor fusion. A correctly sized bead is typically 2–3 times the electrode diameter in width. Watch the leading edge of the puddle, not the arc itself, to judge speed — keep the puddle consistent and round.
Electrode Angle
- Work angle: 90° to the base metal for a flat butt joint; 45° into the corner for a fillet weld
- Travel angle (drag angle): Tilt the electrode 5–15° in the direction of travel. This is called a "drag" or "pull" technique — you always pull the electrode toward you in stick welding, unlike MIG where pushing is sometimes used
Steeper drag angles beyond 20° trap slag in the bead. Keep it shallow and consistent.
Reading Your Weld Bead to Diagnose Problems
After chipping the slag, the bead itself tells you exactly what went wrong. Learning to read the bead is the fastest way to self-correct without an instructor.
- Tall, narrow, ropey bead: Travel speed too fast, or amperage too low
- Wide, flat, irregular bead with burn-through: Amperage too high or travel speed too slow
- Porosity (small holes in the bead): Arc length too long, contaminated base metal, or moisture in the electrode
- Undercut (groove along the weld edge): Amperage too high, arc length too long, or electrode angle too steep
- Slag inclusions: Slag from a previous pass not fully cleaned, or arc length inconsistent
- Cold lap (bead sitting on top of metal without fusing): Amperage too low or travel speed too fast
Most beginners struggle most with arc length — it naturally increases as you get tired or lose focus. Practice short sessions of 5–10 minutes with full concentration rather than long unfocused runs.
Stick Welding Positions and What Each Demands
One major advantage of stick welding is its ability to weld in all positions — flat (1G/1F), horizontal (2G/2F), vertical (3G/3F), and overhead (4G/4F). Each position requires adjustments:
- Flat: Easiest position. Gravity helps the puddle settle. Use the full amperage range for the rod.
- Horizontal: Gravity pulls the puddle down. Aim the arc slightly upward and reduce amperage by ~10%. Keep a tighter arc.
- Vertical (uphill): Weld from bottom to top. Use a weave pattern (Z or triangle) to control the puddle. Reduce amperage 10–15%. Uphill produces stronger welds than downhill due to better fusion.
- Overhead: Reduce amperage 15–20%. Use a tight arc and move quickly to prevent the puddle from dropping. Wear full leather protection — spatter falls directly on you.
The E6011 and E7018 electrodes are rated for all positions. E7024 is only suitable for flat and horizontal — never attempt it vertical or overhead.
Stick Welding vs. MIG and TIG: When Stick Is the Right Choice
Each welding process has a domain where it outperforms the others. Stick welding wins decisively in specific conditions:
- Outdoor and windy conditions: No shielding gas to be blown away. MIG fails in winds above 5–10 mph without a wind shield. Stick is unaffected.
- Rusty, painted, or dirty metal: E6011 in particular penetrates through surface contamination. MIG and TIG require clean, bare metal.
- Remote locations: Stick machines run on a generator. No gas cylinders to transport or refill.
- Thick metal: Stick can weld 3/8" plate in a single pass. For heavy structural work above 1/2", stick or flux-core is preferred.
- Budget-conscious setups: A complete stick welding setup can be assembled for under $300. Comparable MIG or TIG setups start at $500–$1,500+.
Where stick loses: thin sheet metal below 3/32" is very difficult to weld without burn-through, and it's slower than MIG for production work. For precision stainless or aluminum, TIG is the standard.
Safety Essentials Specific to Stick Welding
Stick welding produces more spatter and ultraviolet radiation than MIG or TIG, and the open-circuit voltage on some machines reaches 80V — enough to cause a serious electrical shock if proper precautions are ignored.
- Never weld in wet conditions or while standing on damp ground without dry insulation between you and the surface
- Always use a shade 10–13 lens — the arc produces intense UV and infrared radiation that causes arc eye (photokeratitis) within seconds of unprotected exposure
- Ensure adequate ventilation — stick welding produces metal fume and flux combustion gases. Stainless steel rods in particular produce hexavalent chromium fumes, a known carcinogen
- Never lay a live electrode holder down on metal — the energized tip can arc against the workpiece and create a fire hazard
- Keep a fire extinguisher within reach — spatter can travel 10 feet and ignite combustibles
Practical Tips to Improve Faster
Most welding instructors agree that deliberate, focused practice on fundamentals beats hours of aimless bead running. Here's what actually accelerates improvement:
- Run stringer beads on flat plate first. Do 20–30 straight beads before attempting joints. Focus on keeping arc length and travel speed consistent.
- Use a chipping hammer and wire brush after every pass — inspecting your bead immediately gives you direct feedback while the settings and technique are fresh in your mind.
- Weld in a comfortable position. Brace your arms and body against something stable. Fatigue and shaking destroy arc consistency.
- Practice restarting the arc cleanly. When you change rods mid-bead, chip the crater, restart 1/2" ahead of the crater, and bring the arc back into the crater to fill it before resuming forward progress.
- Record your settings. When you get a bead you're happy with, write down the amperage, electrode, and metal thickness. This builds a personal reference for future jobs.
Most beginners can produce structurally sound flat-position welds within 10–20 hours of focused practice. Passing a structural weld certification test (such as AWS D1.1) typically requires 6 months to a year of consistent training — but for general repairs, fabrication, and farm work, the fundamentals come much faster.